A good wood burning portrait starts long before the pen heats up. It starts with a sharp, well-lit reference photo, a value plan that tells you where the darkest darks and brightest highlights go, and the patience to build tone in thin layers. Get those three right and a realistic wolf, deer or family dog becomes a sequence of manageable steps instead of a gamble on your best board.
This is advanced work, and it rests on everything earlier in the series. If smooth gradients still give you trouble, spend some time with our shading techniques first, and if fur strokes look like hatching, revisit the texture techniques. Portraits reward control more than speed, and the basic habits from our beginner wood burning guide (steady hand speed, consistent heat, a relaxed grip) matter even more here.
Choosing a reference photo that will actually work
The photo sets the ceiling for the whole piece. A blurry phone picture taken indoors at night will give you a blurry, muddy burn, no matter how skilled you are. Look for these qualities before you commit:
- Sharp focus on the eyes. Zoom in. You should see the catchlight and the edge of the iris clearly.
- Directional light. Soft light from one side, like a window or late afternoon sun, gives shape. Flat flash light kills form.
- A clear range of values. Real darks, real lights, and plenty of mid tones between.
- Enough resolution to print large. You will want to print it at the size of the final burn and still see fur direction.
- Eye level with the subject. Photos taken looking down on a pet distort the head and shorten the legs.
For wildlife like wolves and deer, use your own photos or images whose license allows you to make derivative art. Many photographers are happy to give permission if you ask, and some free image libraries allow it outright. Check before you sell anything.
Value mapping before you burn
Pyrography is a one-way medium. You can always go darker, but going lighter means scraping or sanding, and both leave marks. That is why planning values matters more here than in pencil drawing.
Convert your reference to grayscale in any photo editor. Then increase the contrast slightly and, if your editor allows it, posterize the image to five or six levels. This turns soft gradients into clear shapes: the darkest pupils and nostrils, the deep shadow under the jaw, the mid tones of the coat, and the pure highlights you will leave as bare wood.
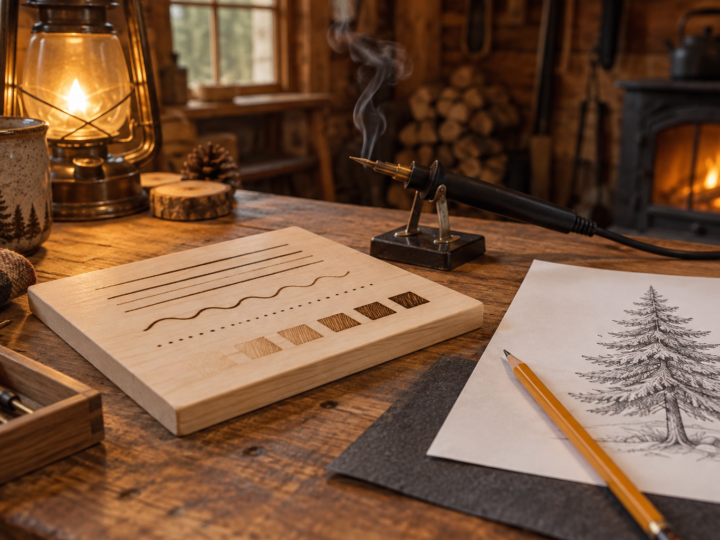
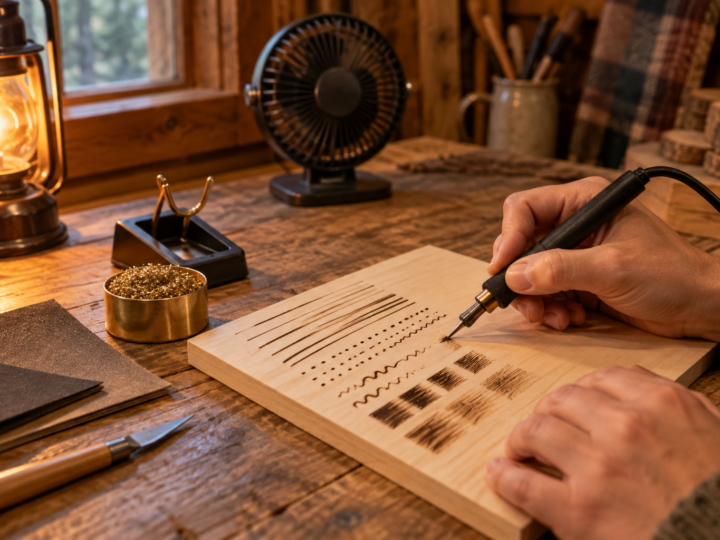
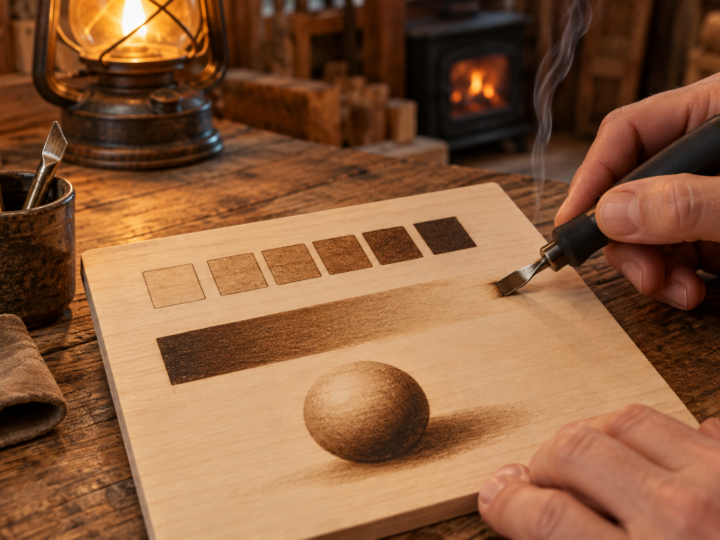
Make a small value scale on a scrap of the same wood, five or six squares from barely toasted to near black, and note the dial setting and nib you used for each. Keep it beside you. When you are unsure how dark an area should be, hold the scale against the board and compare it to the posterized print.
Transferring only what you need
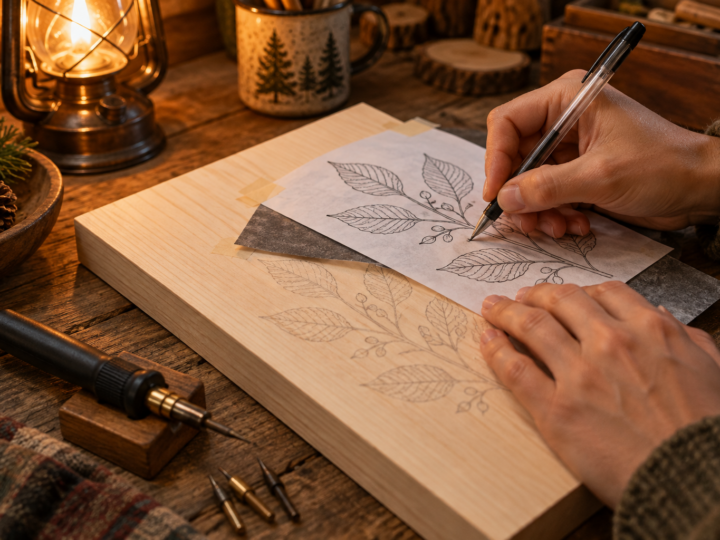
Transfer the outline, the eyes, nose and mouth, and the borders between major value shapes. Do not trace every hair. Too many guide lines lock you into the photo and make the burn look stiff. Light graphite transfer, as described in our guide on transferring patterns to wood, erases cleanly from highlight areas afterward.
Choose a pale, tight-grained board with little figure. Basswood, birch and maple are good choices. Strong grain lines running through a face fight with the features, so orient the board with the grain running the same direction as the main fur flow when you can.
Burn the eyes first
Eyes carry the life of a portrait. If they are right, viewers forgive a lot elsewhere. If they are wrong, nothing else saves the piece. Burning them first also means that if they fail, you have lost an hour rather than a weekend.
Start by marking the catchlight, the small bright reflection, and protect it completely. Some burners outline it with a very light line; others just leave a careful margin. Then burn the pupil with a small round shader or a writing tip at a medium-high setting, building it to near black in several passes rather than one hot stroke that scorches past the line.
The iris needs gradient. In most animals it is darker at the top, where the upper lid casts a shadow, and lighter near the bottom. Use light circular strokes or tiny pull strokes radiating from the pupil. Finish with the eyelid rim and the dark skin around the eye, which in wolves and many dogs is a strong, defined shape.
Fur direction, the map of the animal
Fur that runs the wrong way flattens a face instantly. Before you burn any coat, study the reference and draw small arrows on your print showing the direction of growth in each area. On most mammals, fur flows away from the nose, over the forehead toward the ears, down the cheeks, and back along the neck. Whorls and partings appear around the eyes, the base of the ears and the chest.
Use a knife edge tip or a fine writing tip for individual hairs, and a shader for the underlying tone. The usual approach is to lay down a light base tone first, then pull hair strokes on top of it. Start each stroke with the pen already moving, lift as you finish, and keep the strokes slightly curved. Vary the length. Real fur is never a row of identical dashes.
Wolf pyrography
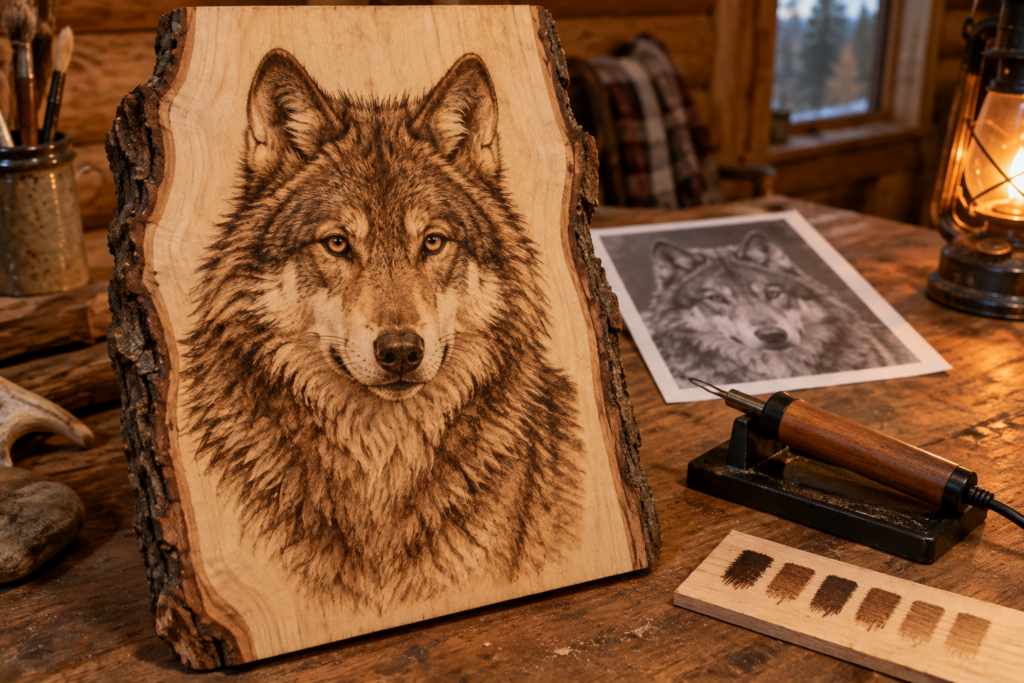
Wolves have dense, layered coats with strong value changes: a pale muzzle, darker saddle markings, and a bright ruff around the neck. Build the dark guard hairs in clusters, leaving gaps where the lighter undercoat shows through. The ruff looks best when you burn the shadows between the clumps and leave the tips of the clumps as bare or lightly toned wood. That way the light parts emerge from the darkness around them.
Deer pyrography
Deer coats are short and sleek over most of the body, so they read more as smooth tone with fine texture than as long strokes. Use a shader with light, overlapping pull strokes and save long hair for the ears, throat patch and tail. Antlers are a good place to practice form shading: treat each tine as a cylinder, with a highlight along one edge and a gradual roll into shadow on the other.
Building darks slowly and keeping highlights
The fastest way to ruin a realistic burn is to chase the darks at high heat. High settings scorch, leave a shiny black crust, and spread past the line into nearby lighter tones. Lower heat with more passes gives rich, velvety darks and keeps your edges sharp.
A useful rhythm is to bring the whole portrait up to about one third of its final value, then to two thirds, then to full depth. Working across the piece this way keeps the values balanced. When you burn one area to black while the rest is still pale, you tend to overdo everything else to match it.
Highlights are bare wood, so protect them from the start. Whiskers, the catchlights, the wet shine on a nose and the bright edges of fur against a dark background are all easier to keep than to recover. If you lose one, a sharp craft blade can scrape a fine line back to lighter wood, and a fiberglass eraser pen can lift small areas. Both work best on a few tiny spots, not large patches.
Backgrounds
A plain, lightly toned or dark background pushes the subject forward. For pale animals, a dark background makes the outline glow; for dark animals, a light one does the same. Keep the background simple. Detailed scenery competes with the face.
Pyrography portraits of people and pets, done respectfully
Burning a portrait of someone’s dog, grandparent or child is personal. People commission these pieces because the subject matters to them. Treat the work and the photos with care.
Work from photos the client supplies, and ask them to confirm they took the photo or have the right to use it. Professional studio portraits often belong to the photographer, and wedding or school photos usually do. A short written agreement covering the photo source, the size, the price range and the delivery time avoids misunderstandings later.
Ask permission before you post the finished piece online or use it in your portfolio, and before you share the reference photo anywhere. Some clients are delighted to see it shared, others want it kept private, especially for memorial pieces of people or pets who have died. Do not keep client photos longer than you need them.
Human faces are less forgiving than animals. A slight shift in the corner of the mouth or the spacing of the eyes changes who the person looks like. Measure carefully, use a grid on the print and the board if it helps, and show the client a photo of the piece before sealing so small adjustments are still possible. Skin needs smooth, gentle gradients, so a large rounded shader at low heat works better than a writing tip.
A working order for a full portrait
Every artist adjusts the order, but this sequence keeps most portraits under control:
- Prepare the board: sand to 220 to 320 grit, remove dust, and transfer the key outlines.
- Burn the eyes to near completion.
- Add the nose and mouth, then the darkest shadow shapes around them.
- Lay a light base tone across all non-highlight areas, following fur direction.
- Build the whole piece in passes to two thirds of final value.
- Add hair texture and details, then bring the darks to full depth.
- Step back, compare against the reference from across the room, and adjust.
- Clean up guide lines, recover any highlights, then seal.
Take breaks. After an hour of close work your eyes adjust to the values in front of you and you stop seeing errors. Photographing the piece and viewing it on a phone screen, or flipping the photo horizontally, reveals proportion problems quickly. When you are done, our guide on how to finish and seal wood burning covers finishes that will not wash out pale tones.
If you want warm-up material before a big piece, the free printable animal patterns in our pattern library are good for practicing eyes and fur on small boards. Once animals feel comfortable, the next step in the series takes the same skills onto new surfaces with pyrography on gourds and leather.
Frequently asked questions
What is the best wood burning tip for portraits?
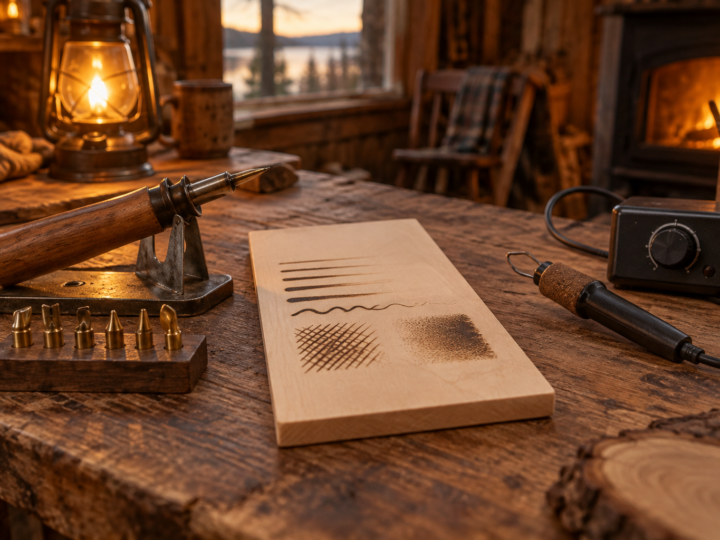
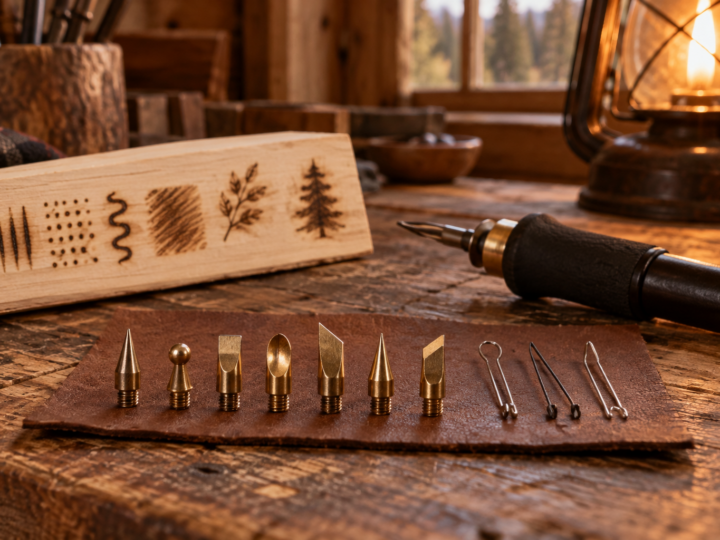
Most portrait artists rely on a small and a large rounded shader for tone, plus a fine writing or knife edge tip for hair and detail. A wire nib burner gives more control at low heat than a solid point pen. Our nib guide explains each shape.
How long does a realistic animal pyrography piece take?
A detailed pet portrait around 20 by 25 cm often takes 10 to 30 hours, depending on fur length and detail. Long-haired animals and full-body pieces take longer. Splitting the work across several sessions gives better results than one marathon.
Can I burn a portrait from any photo I find online?
Not safely. Photos are protected by copyright, and turning one into art without permission can infringe it, especially if you sell the piece. Use your own photos, client photos they have rights to, or images whose license allows derivative work.
Continue the Learn Pyrography series
This is part 12 of 13. Previous: How to Finish, Seal and Color Wood Burning Art. Next: Pyrography on Gourds and Leather: Burning Beyond Wood. New to the series? Start with Wood Burning Safety, then the beginner guide.