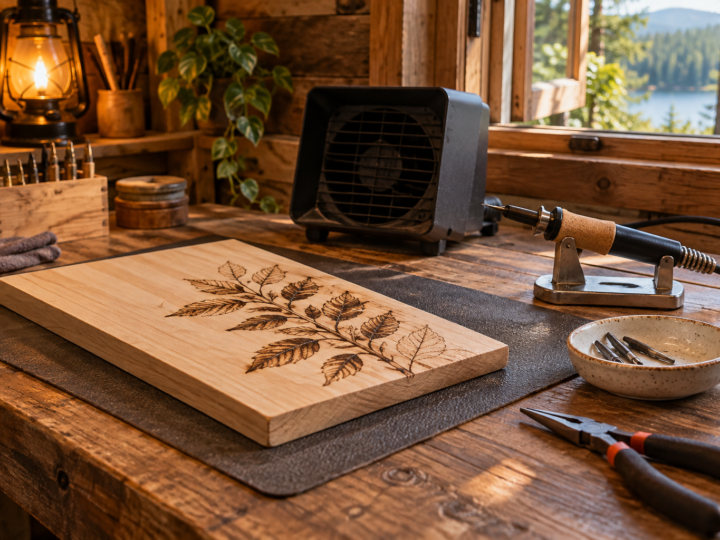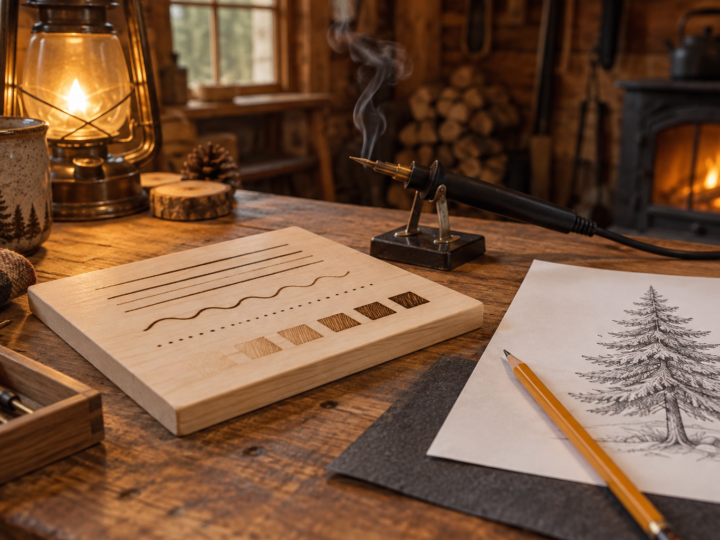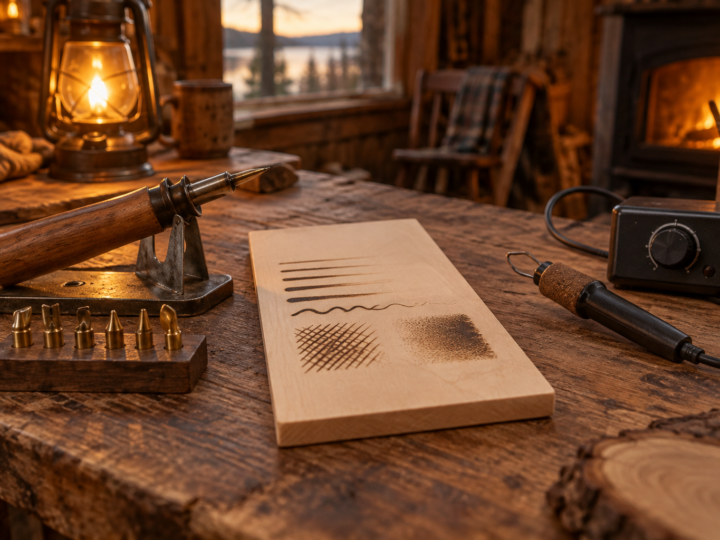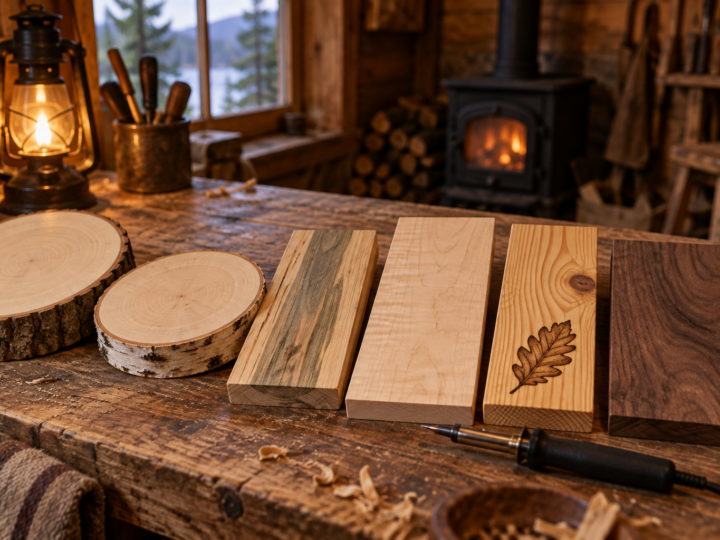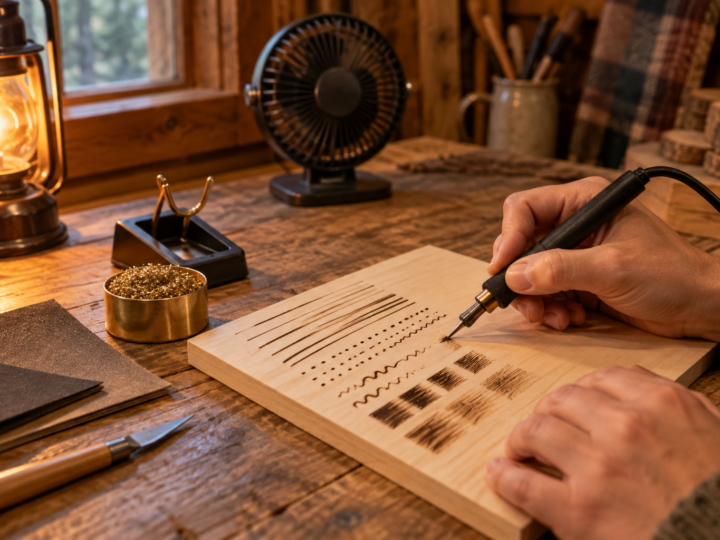
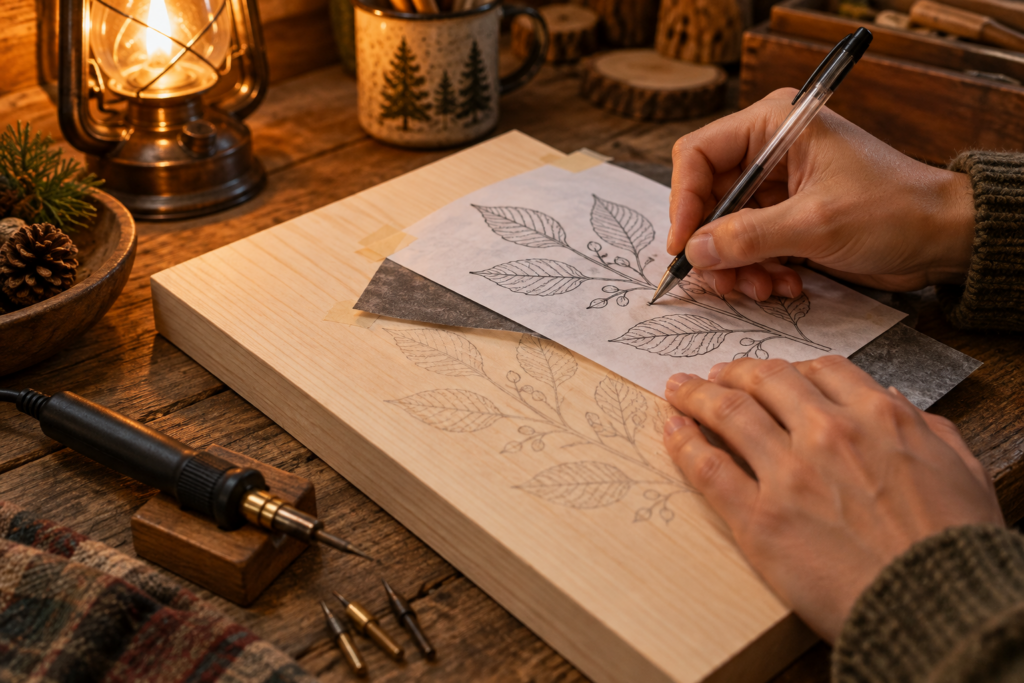
The simplest way to transfer a pattern to wood is graphite paper: tape your printed design to the board, slide a sheet of graphite paper underneath, and trace the lines with a ballpoint pen using light, even pressure. In five minutes you have a faint grey outline that your wood burner will cover completely. Every other method on this page is a variation for a particular situation, such as no graphite paper at hand, a very detailed design, or a curved surface.
A clean transfer saves you more frustration than almost any other prep step. Thick, smudgy or crooked guide lines get burned in and stay there, while thin, accurate ones disappear under the burn. Below are the five methods we use most, how to size a printable pattern so it fits your blank, and how to clean up any lines that show after burning.
Before you transfer: prepare the wood and the pattern
Sand the surface first, not after. Finish at 320 grit with the grain and wipe off the dust. Graphite and pencil sit on top of the fibers, so sanding after the transfer would erase your lines, and dust under the paper makes them blotchy. If you have not picked your blank yet, our guide to the best wood for wood burning explains why pale, even woods like basswood take a transfer so well.
Next, decide how much of the pattern you really need. A detailed printable might include every shading boundary and fur direction. You only need to transfer the outlines and a few key landmarks, such as the edge of a shadow or the center of an eye. The rest you burn by eye, using the printout as a reference beside you. Fewer lines on the wood means less to hide later.
How to size a printable pattern
Wood burning patterns printable from the internet rarely arrive at the exact size of your board. Measure the area you want the design to fill, leaving a margin of at least 1 to 2 cm from the edge on small pieces and more on large plaques. Edges and bark rims are awkward to burn near, and a little breathing room looks better.
Then scale the image to match. Most print dialogs have a “custom scale” or “fit to” setting. To work out the percentage, divide the target width by the current printed width and multiply by 100. A pattern that prints 15 cm wide and needs to be 10 cm wide should be printed at about 67 percent. For a design larger than one sheet, use the poster or tiling option in your print software, then tape the pages together carefully along the overlap.
A quick tip: print one test copy on plain paper and lay it on the wood before committing. You will see right away if the design feels cramped or floats in too much empty space. Our free printable patterns are designed with clean outlines, which makes them good practice for every method below.
Method 1: graphite paper
Graphite transfer paper is thin paper coated on one side with a layer of graphite. It is cleaner than carbon paper, which leaves waxy lines that resist burning and are hard to erase. Graphite lines burn away easily and lift off with an eraser.
- Position the printed pattern on the wood and tape it along the top edge only, so it works like a hinge.
- Slide the graphite paper under the pattern, coated side down against the wood.
- Trace the main lines with a ballpoint pen or a stylus. Use light, steady pressure; pressing hard dents soft woods like basswood, and the dents stay visible under the burn.
- Lift a corner of the pattern now and then to check the lines are coming through. The hinge lets you drop it back into exactly the same spot.
- When finished, remove everything and check for missed lines before you start burning.
Tracing with a red pen helps a lot, because you can see on the printout which lines you have already done. Keep your hand off the transfer paper as much as possible, since the heel of your palm will press smudges into the wood.
Method 2: pencil rubbing on the back
If you have no graphite paper, make your own. Turn the printed pattern over and shade the back of it with a soft pencil, an HB to 4B, covering every area where there are lines on the front. You can hold it against a bright window to see where to shade. Then flip it right side up, tape it to the wood, and trace the lines on the front with a pen.
The pressure pushes the graphite off the back of the sheet onto the wood. The lines are usually lighter and finer than with commercial graphite paper, which many burners prefer. The downside is time: shading the back of a large pattern takes a while, and soft pencil can smear onto your hands. A light spray of workable fixative on the back is not needed, and we would skip it, because anything on the wood surface can affect how it burns.
Method 3: heat transfer with a laser-printed copy
Toner from a laser printer or photocopier melts when heated, and it can be pressed straight onto wood. This is the fastest way to transfer image to wood for wood burning when the design has lots of fine detail, such as fur, feathers or lettering. It does not work with inkjet prints.
First, mirror the image before printing, otherwise it will come out reversed. That matters most for text. Lay the print face down on the wood and tape it so it cannot slide. Then apply heat with a transfer tip, a flat shading tip on your burner set fairly low, or a household iron on a dry, medium-high setting. Rub firmly in small circles over the back of the paper. Lift a corner to check; the toner should have moved onto the wood as a crisp black or grey line.
There are trade-offs. Toner lines are darker and much harder to erase than graphite, so your burn needs to cover them fully, or you need to plan for them to show. Heating toner also makes a small amount of fumes, so work with the same ventilation and fan you use for burning. The wood burning safety guide covers a good setup. Some burners mix a few drops of a solvent blender on the back of the paper instead of heat, but we stick with heat and dry paper to keep solvents off the bench.
Method 4: freehand drawing
Drawing straight onto the wood with a pencil is the most flexible method, and it gets easier quickly. Use a hard, sharp pencil such as a 2H or H. Soft pencils leave shiny graphite that can smear and make the pen skip. Draw lightly, then go over the lines you want with slightly firmer strokes, so you can tell your final line from the sketchy ones.
For balanced layouts, mark a center line and a few guide points with a ruler first. Simple shapes like circles, frames and borders are easier with a compass, a plate or a coin than by hand. Freehand also suits natural subjects, like leaves and branches, where slight irregularity looks right. It is a good habit to practice, because many experienced burners transfer only rough proportions and then draw the details freehand.
Method 5: wood burning stencils for beginners
Stencils are thin plastic or card sheets with the design cut out. You hold or tape them in place and trace inside the openings with a pencil. They are excellent for lettering, borders, geometric patterns and repeated motifs, where perfect consistency matters more than personality.
Do not burn directly against a plastic stencil. The heat melts it, ruins the edge and gives off fumes. Trace with pencil, remove the stencil, then burn. You can also make your own stencil by cutting a printed design from card stock with a craft knife, which is handy for a logo or name you want to repeat on several pieces.
Which method to pick
For most beginner projects, graphite paper is the default: quick, clean and forgiving. Pencil rubbing is the fallback when you run out, and it gives the finest lines on small pieces. Heat transfer earns its place on dense, detailed designs where tracing hundreds of tiny lines by hand would take an evening. Freehand suits loose natural subjects and anything you want to adjust as you go, and stencils win for repeated shapes and tidy lettering.
You can also combine them. A common approach is to transfer the main outline with graphite paper, then add small details freehand once you can see how the design sits on the grain. Mixing methods on one piece is normal, and it often gives the best result.
How to burn a design into wood after the transfer
With the lines in place, start with the outlines at a low to medium setting. Move at a steady pace along the line and let the heat do the work rather than pressing. Keep the paper printout next to you for shading and texture references. If you need a refresher on stroke speed and heat, the beginner walkthrough on how to do wood burning covers it, and the guide to nibs and their uses helps you choose a tip for outlines versus shading.
Burn in a sensible order. Outlines first, then the darkest areas, then mid tones, then light shading. That way any remaining transfer lines are covered early, and you can judge contrast as you go. Avoid resting your hand on unburned graphite, or slip a sheet of clean paper under your palm.
Cleaning up leftover transfer lines
After burning, a few grey lines will usually show where your burn did not quite follow the transfer. Wait for the wood to cool, then use a soft white eraser or a kneaded eraser with light pressure. For stubborn graphite, a light pass with 400 grit sandpaper wrapped around a flat block works, but it also softens your lightest burned tones, so go gently.
Toner lines are harder. Light sanding or careful scraping with a sharp blade held almost flat can lift them, and the same tricks fix small burn mistakes. We cover those in more depth in 25 wood burning tips for beginners. Always clean up before applying any finish, because sealer locks graphite in for good.
Frequently asked questions
Can I use carbon paper to transfer a wood burning pattern?
You can, but graphite paper is better. Carbon paper leaves a waxy line that resists the heat, can smear, and is very hard to erase. Graphite lines burn away cleanly and lift off with an ordinary eraser.
Do I need to mirror the image for transfer?
Only for heat or toner transfer, where the print lies face down on the wood. Graphite paper, pencil rubbing and stencils all keep the image the right way round, so print those normally.
Will graphite lines show after I burn?
Lines that sit under a burned area disappear. Lines outside your burn stay visible until you erase them. Trace lightly and transfer only what you need, and cleanup takes a minute.
How do I transfer a pattern onto a curved surface?
Cut the printed pattern into a few sections, or snip small slits around the edges so it lies flatter, then use graphite paper and tape each section down. For spoons and gourds, sketching freehand with a hard pencil is often easier.
Continue the Learn Pyrography series
This is part 5 of 13. Previous: Best Wood for Wood Burning (and the Woods to Avoid). Next: Wood Burning Tips for Beginners: 25 Things Worth Knowing Before You Start. New to the series? Start with Wood Burning Safety, then the beginner guide.