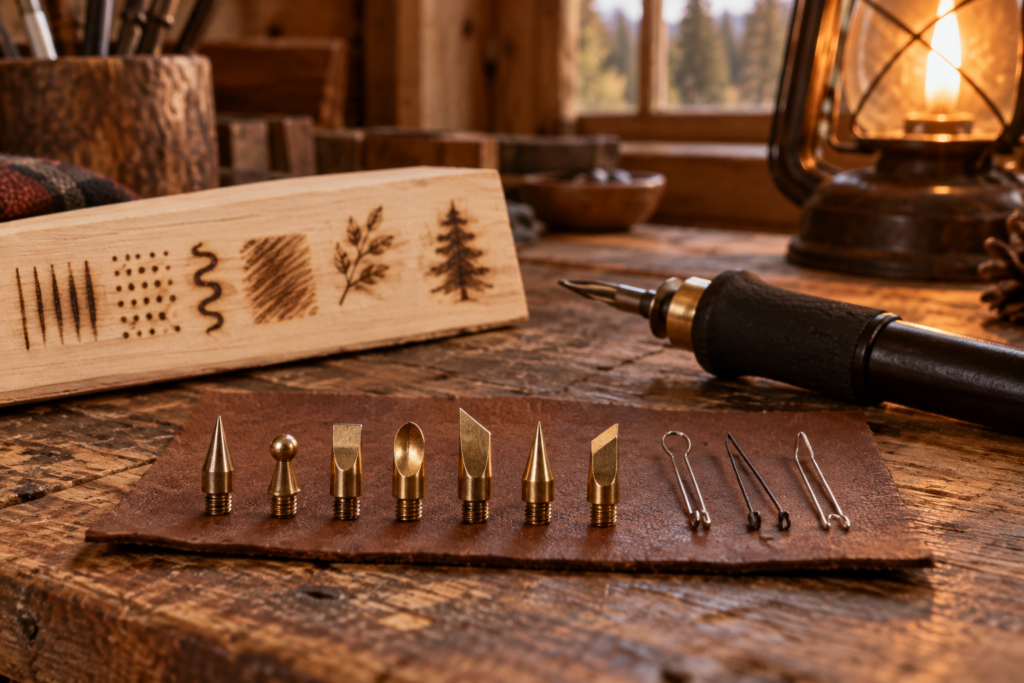
Most wood burning tips and their uses fall into a few simple families: points for lines, rounded tips for writing, flat shaders for tone, and blade or knife tips for crisp edges. Once you know which family a nib belongs to, you can pick it up from any kit and guess what it will do. A beginner can make almost any design with three of them: a universal point, a ball or writing tip, and a shader.
Kits often ship with ten or more brass tips in odd shapes, and the instructions rarely say what each one is for. Below we explain the common shapes, how solid point tips differ from wire nibs, how to change and clean them, and which ones are worth adding to your set first.
Solid point tips vs wire nibs
There are two kinds of wood burning pen tips, and they behave very differently. Solid point tips are brass or copper pieces that screw into a pen with a heating element inside, much like a soldering iron. They are cheap, tough and easy to swap, but they take a few minutes to heat up and cool down, and the thick pen can feel clumsy for fine detail.
Wire nibs are thin loops of nichrome wire bent into shape and set into a handpiece that plugs into a separate control box. The wire itself carries the current and heats up in a second or two. That fast response, plus a slim handpiece close to the work, gives finer control over tone. Nibs come either fixed into their own pen or as replaceable tips that plug into one pen. Our guide to choosing your first wood burning tool compares the two systems in more depth.
The shapes below exist in both systems, and the names overlap. A “shader” on a solid point pen is a flat brass wedge; on a wire burner it is a flattened, bent loop. They do the same job, but the wire version is thinner and reacts faster.
Wood burning tips chart: common nibs and their uses
Use this as a quick reference. Names vary between makers such as Walnut Hollow, Colwood, Razertip and Burnmaster, so judge a tip by its shape rather than its label.
| Tip | Shape | Best for | Beginner tip |
|---|---|---|---|
| Universal / flow point | Tapered cone with a slightly rounded point | Outlines, curves, general line work | The everyday workhorse. Use the side for thicker lines. |
| Writing / ball tip | Small rounded ball | Lettering, signatures, smooth curves, dots | Moves evenly in every direction, so lines stay the same width. |
| Shading spoon / shader | Flat or slightly curved blade face | Smooth tone, gradients, filling large areas | Hold it flat and keep moving in small circles or strokes. |
| Knife / skew | Thin blade with a sharp edge | Crisp straight lines, fur, grass, cutting edges | Pull, never push. Light pressure gives the finest lines. |
| Cone | Sharp, narrow cone | Fine detail, stippling, tiny dots | Heats unevenly at the very point; touch lightly and lift. |
| Calligraphy | Flat chisel edge, like a broad pen nib | Thick and thin strokes in script lettering | Keep the edge at one fixed angle for even letters. |
| Mini flow / micro point | Very small tapered point | Eyes, whiskers, small details | Lower the heat; tiny tips get hot fast. |
| Stamp / shape tips | Circles, stars, leaves | Repeated motifs and borders | Press and lift in one count for even impressions. |
Line tips: universal, writing and cone
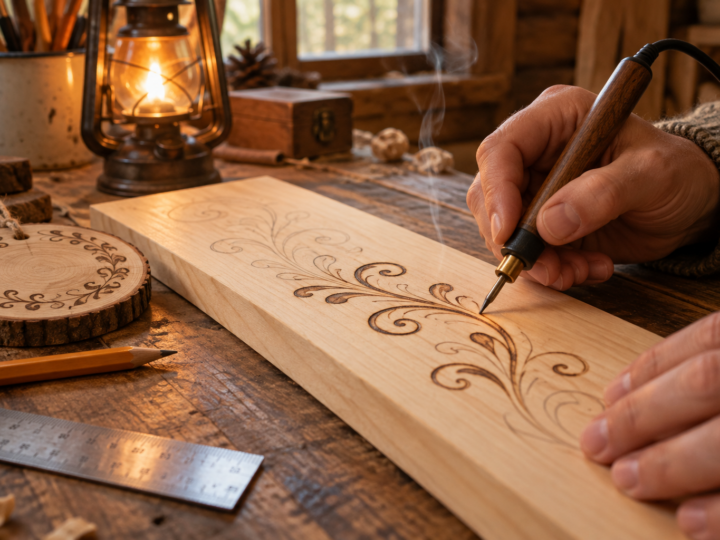
Universal or flow point
If a kit has one tip already fitted, it is usually this one. The universal point has a tapered shape that lets you burn a fine line with the tip and a wider line by tilting the pen onto its side. It handles outlines, simple shading by hatching, and most beginner patterns. Many burners use it for 70 percent of a project.
Writing or ball tip
A ball tip has no edge, so it glides the same way whichever direction you move. That makes it the best wood burning tip for writing, signatures and smooth curves, because lines stay round and even through tight turns. Ball tips come in sizes; smaller balls give finer lettering. Our guide on how to wood burn letters uses one for nearly every exercise.
Cone and micro points
Sharp cones and very small points are for detail: the edge of an eye, single hairs, tiny dots. They also suit stippling, where you build tone from many small dots. Because so little metal touches the wood, they heat quickly and can scorch, so drop the setting a little and keep each touch brief.
Shaders and spoon tips for tone
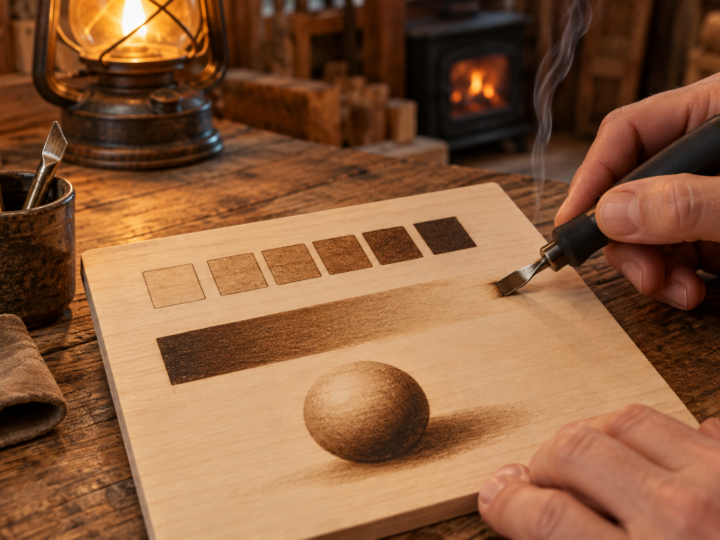
Shading tips have a flat or gently curved face that spreads heat over a wide area. Instead of drawing a line, you lay the face on the wood and move it in small, overlapping strokes or circles to build smooth tone. Spoon shaders have a rounded, cupped face that is good for soft gradients and rounded forms, like petals, cheeks and pebbles.
Hold the shader with the whole face in contact for even tone. Tilting it onto the heel or toe concentrates heat and gives darker edges, which is useful for shadows along a form. Keep the setting moderate and build in layers rather than going slowly at high heat. The guide on wood burning shading techniques covers the strokes in detail.
Knife, skew and calligraphy tips for edges
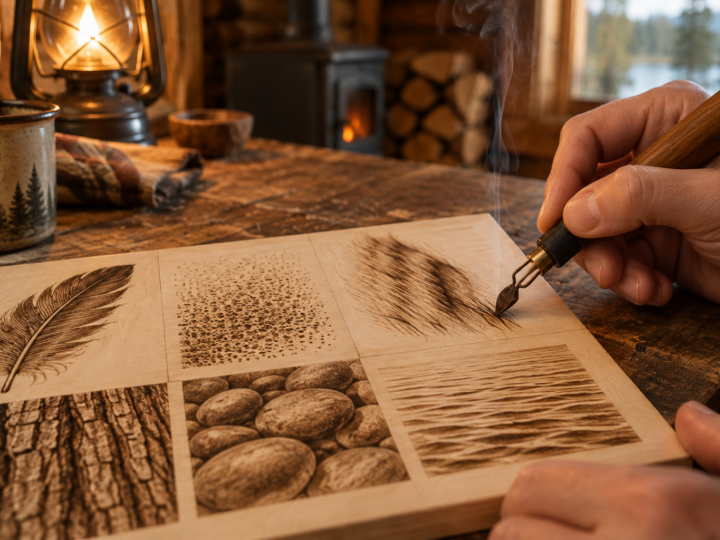
Knife and skew tips have a thin blade. Drawn along the wood on their edge, they cut and burn at the same time, giving very crisp, straight lines. They are the classic tool for fur, grass and the hair-like texture of feathers, because a quick flick leaves a line that tapers at the end. Always pull the blade toward you; pushing it makes it catch and dig.
A skew is a knife angled to a point, so you can use the point for tight detail and the edge for longer lines. You can also use the flat side of a knife tip like a narrow shader. For fur and other textures, the article on pyrography texture techniques shows how to use these tips stroke by stroke.
Calligraphy tips have a flat chisel end. Held at a fixed angle, they make thick strokes in one direction and thin ones in another, the same way a broad edge pen works. They are lovely for script lettering, but they take practice, so start with a ball tip for words and add a calligraphy tip later.
Getting more from one tip
Every tip does more than its name suggests. The angle you hold it at, the part of the tip that touches the wood and your speed all change the mark. A universal point held upright makes a fine line; laid low on its side, it shades. A shader on its edge draws a sharp line, and a ball tip pressed and lifted makes neat dots for stippling.
Each tip also has its own sweet spot on the dial. Small points and knives need less heat than broad shaders, because less metal holds and delivers heat. When you switch tips, drop the dial back down and work up again on scrap rather than keeping the last setting. A quick sampler board with one row per tip, burned at three speeds each, teaches you more than any chart.
How to change tips on a wood burning tool
On a solid point pen, always unplug the tool and let it cool fully before changing tips. Hot brass expands and the threads can strip, and the tip itself can burn you through a cloth. If you need to swap tips mid project, use the pliers that came with the kit and set the hot tip on a heat-proof surface such as a ceramic tile, never in a plastic tray.
- Unplug the pen and wait until the tip is cool to the touch, often 10 to 15 minutes.
- Unscrew the old tip by hand or with pliers, turning counterclockwise.
- Screw in the new tip until it is snug. Do not force it; overtightening damages the threads.
- Plug in, let it heat for a few minutes, and burn a test line on scrap before starting.
Wire nib burners are simpler. Turn the control box off, wait a few seconds for the nib to cool, then pull the nib out of the handpiece and push in the new one. On fixed tip pens, you just unplug one pen and plug in another. Check the tip sits straight and firmly, because a loose connection heats unevenly.
How to clean wood burning tips
Carbon and resin build up on tips quickly, especially on pine or other sappy woods. A dirty tip drags, burns unevenly and leaves dark smudges. Clean it every few minutes while you work, and do a more thorough clean at the end of a session.
For quick cleaning on a warm tip, wipe it gently on a brass wool tip cleaner, or stroke it along a leather strop with a little polishing compound. For a deeper clean on a cool solid tip, rub lightly with very fine sandpaper (600 grit or finer) or a fine abrasive pad, then polish on the strop. Wire nibs need a gentler touch: a few strokes on a strop or a fine ceramic sharpening stick, never coarse sandpaper, which thins the wire and changes how it heats.
Avoid steel wool, files and knives. They scratch the surface, and the rough surface collects carbon faster. Some tips are plated, and harsh abrasives wear through the plating quickly. More tool care habits are in our list of wood burning tips for beginners.
Which tips to start with
If you are just starting, put most kit tips in a drawer for now. A universal point, a ball tip and a shader cover outlines, lettering and smooth tone, which is enough for nearly all beginner designs. Practice each on scrap until you can predict the tone it gives at a given speed. The beginner guide to your first burn includes simple drills to build that feel.
Add a knife or skew when you want fur, grass or sharp borders, and a small cone or micro point when you start on animal eyes and fine detail. Calligraphy and stamp tips are fun extras rather than needs. To try each nib on real designs, our free printable patterns include simple outlines, lettering and shaded subjects that suit different tips.
Frequently asked questions
What is the best wood burning tip for writing?
A writing or ball tip. Its rounded end moves evenly in every direction, so letters keep a steady width through curves. Smaller balls suit small lettering, while larger ones give bold, rustic text.
Can I use soldering iron tips for wood burning?
Some solid point pens are built like soldering irons, but soldering tips are often plated for solder and are not shaped for burning. Use tips made for your wood burning pen, since threads and sizes vary between tools.
Why does my tip burn unevenly?
Usually because of carbon build up, a loose tip or uneven grain. Clean the tip, check it is screwed in snugly and test on scrap. A tip that still heats unevenly after cleaning may be worn and worth replacing.
How long do wood burning tips last?
Solid brass tips can last years with gentle cleaning. Wire nibs wear faster, especially with hard scrubbing or high heat, but they are cheap to replace. Replace any tip that has become pitted, bent or noticeably thinner.
Continue the Learn Pyrography series
This is part 7 of 13. Previous: Wood Burning Tips for Beginners: 25 Things Worth Knowing Before You Start. Next: How to Wood Burn Letters That Look Clean and Even. New to the series? Start with Wood Burning Safety, then the beginner guide.