There are two main types of wood burning tool for beginners: solid point pens, where a brass tip screws into a heated pen, and wire nib burners, where a thin loop of wire is heated by a separate control box. Both can make beautiful work. The right one for you depends on your budget, what you want to burn, and how much fine detail you plan to chase in your first year.
Below we break down how each type works, what it does well, where it gets frustrating, and which features matter most when you shop. By the end you should know which kind of pen suits you and what to look for on the box.
How a wood burning tool works
Every pyrography pen does the same basic job: it gets a metal tip hot enough to scorch wood, and holds it at a steady temperature while you draw. The differences come from how the heat is made and where it lives. That affects how quickly the pen warms up, how quickly the tip recovers after touching cool wood, how hot the grip gets, and how fine a line you can burn.
Recovery is the part beginners rarely hear about. When the tip touches wood, the wood pulls heat out of it. A tool that recovers slowly will burn the first centimetre of a line darker than the rest. A tool that recovers fast keeps lines even. This one quality explains most of the gap in feel between cheap and more expensive tools.
Solid point pens: the classic beginner wood burning kit
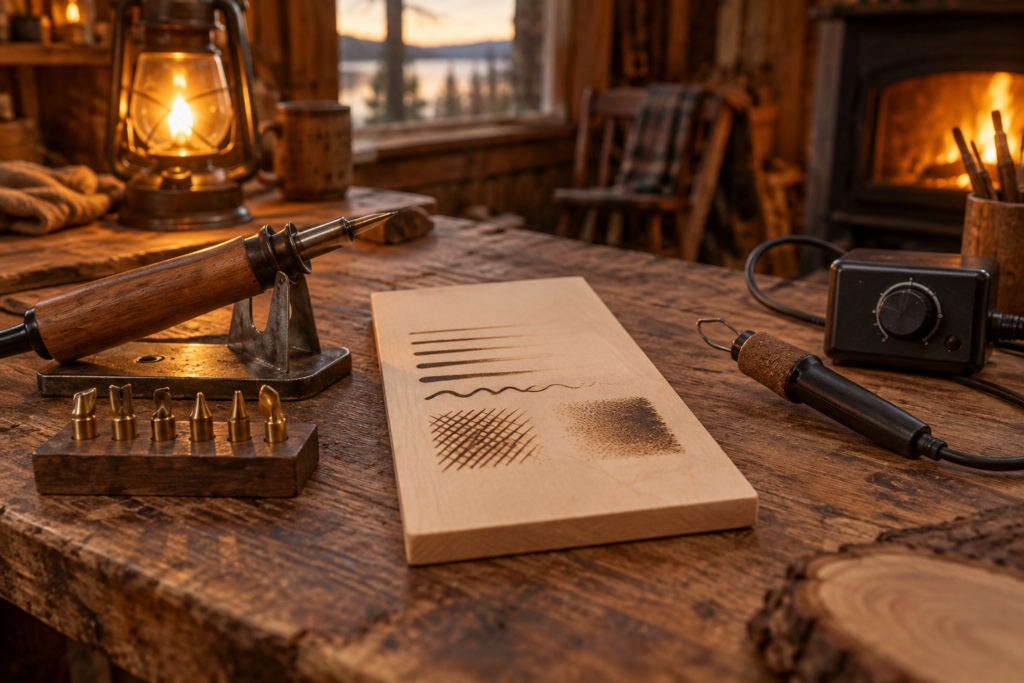
A solid point pen looks a bit like a soldering iron. A heating element sits inside the barrel, and you screw interchangeable brass tips onto the end. Most of the starter kits you see in craft shops, including the long-running Walnut Hollow sets, are this type. Many come with a dozen or more tips, a stand and sometimes stencils, all in one box.
What solid point pens do well
They are inexpensive and very hard to break. The thick brass tips hold a lot of heat, which makes them good at broad shading, filling large areas and burning on rougher surfaces. Pressing too hard will not ruin them the way it can ruin a wire nib. For someone who wants to try the hobby on signs, coasters and simple designs, a solid point pen is a sensible place to start.
Where they struggle
Warm up is slow, often three to five minutes, and swapping tips means waiting again. The tips are thick, so very fine lines and crisp detail are harder. Because the element is in the barrel, the grip gets warm during long sessions, and the thick barrel is further from the wood than you might like. The cheapest pens have no temperature control at all, only a single fixed heat, which makes learning tone much harder.
If you go this route, pay a little more for a model with an adjustable dial or an inline temperature switch. That one feature turns a basic pen into a usable learning tool.
Wire nib wood burners: control and fine detail
A wire nib wood burner splits the job in two. A control box plugs into the wall and sends low-voltage current down a cord to a slim handpiece. At the end of the handpiece is a nib made from a short loop of resistance wire, shaped into a point, a blade, a ball or a shader. Only the wire heats, so the grip stays cool and the heat arrives in seconds.
Colwood, Razertip and Burnmaster are well-known makers of this kind of system, and there are budget dual-pen units as well. Some pens have fixed nibs built in, while others take interchangeable nibs that slot in, which lets you buy one pen and a selection of tips.
What wire nibs do well
Fine control is the big one. The nib is thin, so you can see exactly where it touches. Temperature is adjusted on a dial and changes almost instantly. Recovery is fast, so long lines stay even. Hair, fur, feathers, lettering and portraits are all easier on a wire nib. Most serious hobbyists end up with one eventually.
Where they struggle
They cost more up front. The nibs are delicate, so heavy pressure bends them, and they can burn out if run at maximum heat for long periods. Very large areas of dark fill take longer with a thin shading nib than with a chunky brass tip. Beginners also tend to run wire nibs too hot at first, because the heat comes on so quickly.
Solid point vs wire nib at a glance
| Feature | Solid point pen | Wire nib burner |
|---|---|---|
| Warm up time | 3 to 5 minutes | A few seconds |
| Temperature control | None on basic models, dial on better ones | Dial on the control box |
| Fine detail | Limited by thick tips | Excellent |
| Large area shading | Good | Good with a wide shader, slower with fine nibs |
| Grip temperature | Gets warm | Stays cool |
| Durability | Very tough | Nibs bend under heavy pressure |
| Tip changes | Wait for cooling, use pliers | Quick with interchangeable nibs, still use care |
| Starting cost | Low | Moderate to high |
Features that matter when choosing a pyrography pen for beginners
Whatever type you lean towards, a few features make the biggest practical difference on the bench. These are worth checking before you buy.
- Adjustable temperature. The single most useful feature. Without it you control tone only by speed, which is much harder.
- A comfortable grip. Look for a slim, cushioned or cork-covered grip that sits close to the tip. You will hold it for hours.
- A stable stand. A heavy or clamped stand that holds the pen tip up and away from the table.
- A useful tip selection. A universal or writing point, a fine point and a shader cover most beginner work. Twenty tips you never use add little.
- Safety marks and a sound cord. Buy from a seller you trust, check the plug matches your region, and look for recognised electrical safety certification.
- Replacement tips available. Nibs and tips wear out. Make sure you can buy more for your model.
Our article on what each wood burning nib does walks through tip shapes in detail, so you can tell which ones in a kit you will actually reach for.
Soldering iron pyrography: does it work?
Plenty of people try a soldering iron first because they already own one. It will mark wood, and some craft soldering irons ship with wood burning tips. The trouble is control. Most soldering irons run at a single high temperature, the tips are blunt, and the barrel is thick and gets hot. You can burn bold outlines and simple text, but smooth shading and fine lines are very difficult.
Never use a soldering tip that has already been used with solder for wood burning. Lead and flux residue can vaporise and is not something you want to breathe. If you want to experiment with a soldering iron, use a new, clean tip, keep the session short and ventilate well. For real progress, a basic pyrography pen with a dial is a far better spend.
Which wood burning tool should a beginner buy?
Pick a solid point pen with temperature control if you want to try the hobby cheaply, plan to burn signs, coasters, spoons and simple designs, or will share the tool with older children under supervision. It forgives heavy hands and costs little. Budget pens with a dial usually cost under 30 USD.
Pick a wire nib burner if you already know you love drawing, want fine lines, lettering, fur and feathers, or plan to do realistic work later. You will grow into it rather than out of it. An entry-level dual-pen unit is a good middle ground, letting you keep a fine nib and a shader both ready.
There is no wrong answer here. Many hobbyists start with a solid point pen, find out they enjoy it, then buy a wire nib system and keep the old pen for big fills and rough projects. The skills you learn on one transfer directly to the other.
Getting started with your new pen
When your tool arrives, read the manual, check the cord for damage and set the stand on a heat-safe surface. Run the pen for a few minutes on a low setting the first time. Some new tips and elements give off a little smoke as manufacturing oils burn off, which is normal and stops quickly.
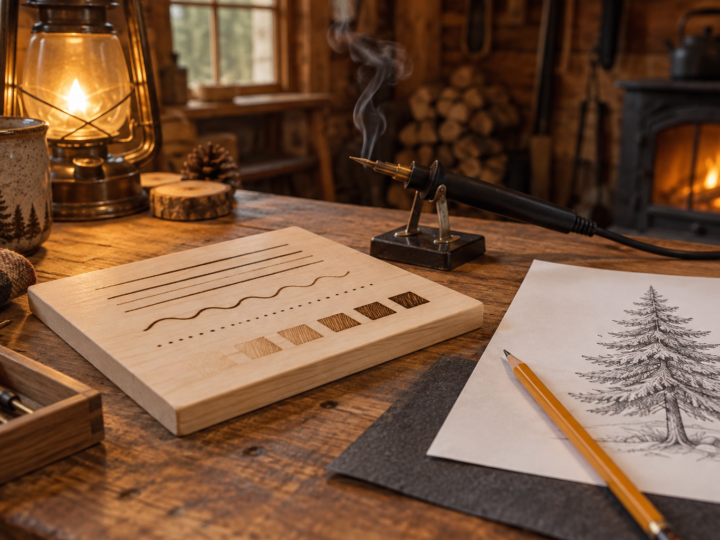
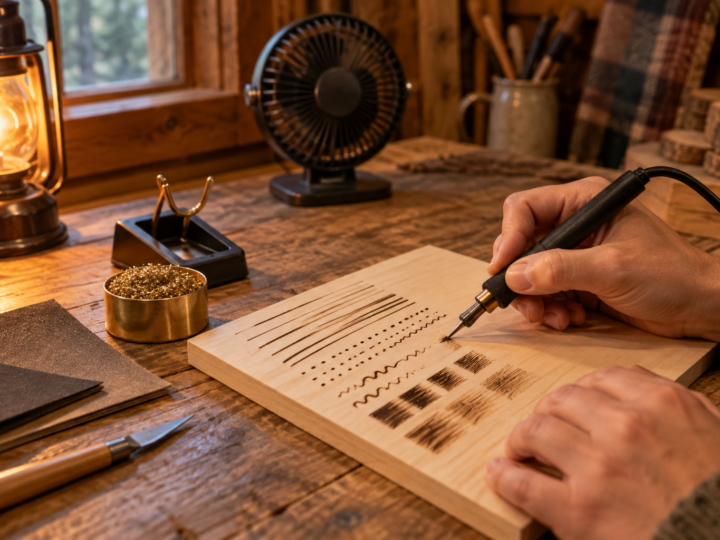
Then grab a sanded basswood offcut and burn a test strip: lines at three speeds, dots, and a small patch of shading at several dial settings. Write the settings in pencil next to each test. That strip becomes your reference card for that pen. Our step-by-step beginner guide takes you from those practice strokes to a finished first piece, and the free patterns on our pattern pages make good practice once your hand is warmed up.
Before your first long session, read our guide to wood burning safety, which covers fumes, tip changes, cords and setting up so smoke is pulled away from your face. When you are ready to choose boards, our article on the best wood for wood burning explains which species are easiest to learn on.
Keeping your tool in good shape
A little care keeps any pen burning evenly. Carbon builds up on tips as you work, and a dirty tip burns patchy, sticks to the wood and needs more heat to do the same job. Every few minutes, wipe the hot tip lightly across a brass wool pad, a leather strop dressed with a little polishing compound, or a very fine abrasive strip. Avoid coarse sandpaper and wire brushes on wire nibs, because they thin the wire and shorten its life.
Store the pen with the cord loosely coiled rather than wrapped tightly around the handpiece, since tight wraps break the wires inside over time. Let everything cool fully before packing it away. If a solid point tip stops threading smoothly, clean the threads once cool and avoid overtightening, which can seize a tip in the barrel. On a wire nib system, check the connections at the handpiece now and then, since a loose plug causes heat to flicker.
Frequently asked questions
Is a cheap wood burning kit good enough to learn on?
Yes, as long as it has adjustable temperature. A budget solid point kit with a dial is enough to learn lines, shading and simple projects. Fixed-heat pens are much harder to control, so skip those if you can.
Do wire nib burners need special tips?
Each system uses its own nibs or pens, and they are not always compatible between brands. Check which handpieces and nibs fit your control box before buying extras. Some makers sell adapter cords for other brands’ pens.
How long do wood burning tips last?
Brass solid point tips last a long time if you clean them gently and avoid scraping them with harsh abrasives. Wire nibs wear faster, especially if you run them at maximum heat or press hard. With light pressure and regular cleaning, a good nib can last for many projects.
Can kids use a wood burning tool?
Older children can learn with close adult supervision, a sturdy stand and a low setting. A solid point pen with a dial is more forgiving for young hands. Younger kids are better off watching or using cool alternatives until they can handle a hot tool safely.
Continue the Learn Pyrography series
This is part 3 of 13. Previous: Wood Burning for Beginners: A Step-by-Step Guide to Your First Burn. Next: Best Wood for Wood Burning (and the Woods to Avoid). New to the series? Start with Wood Burning Safety, then the beginner guide.