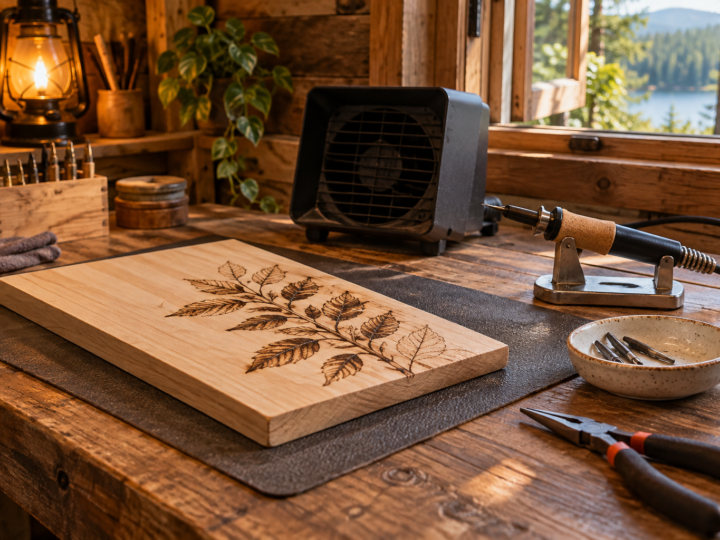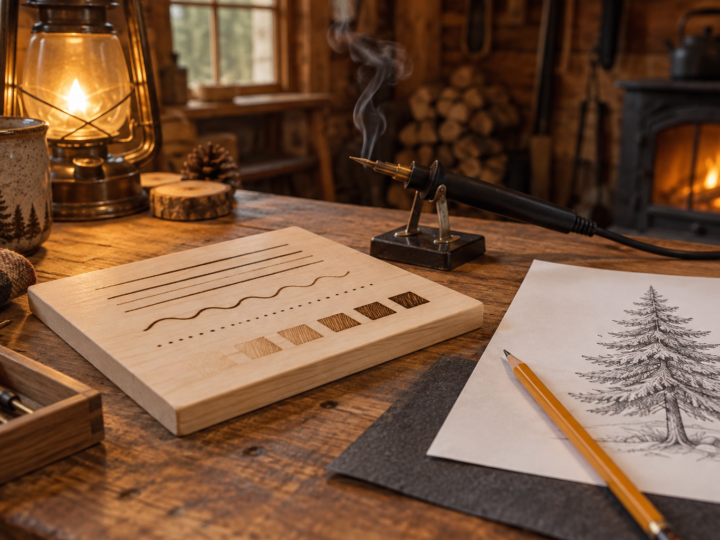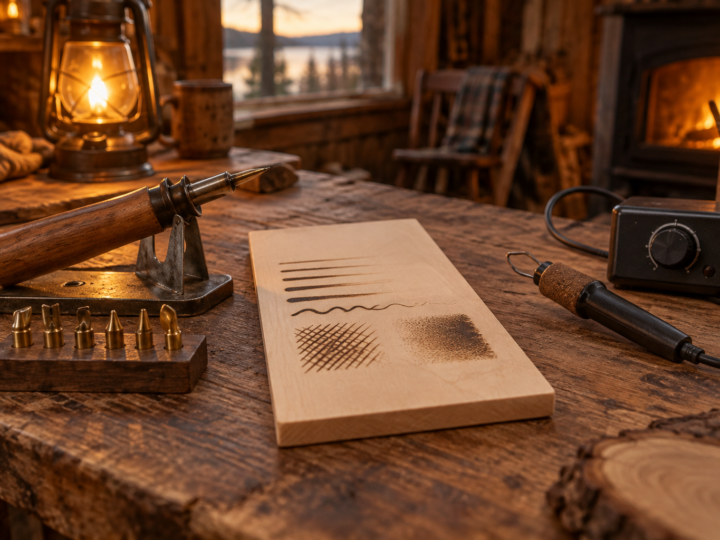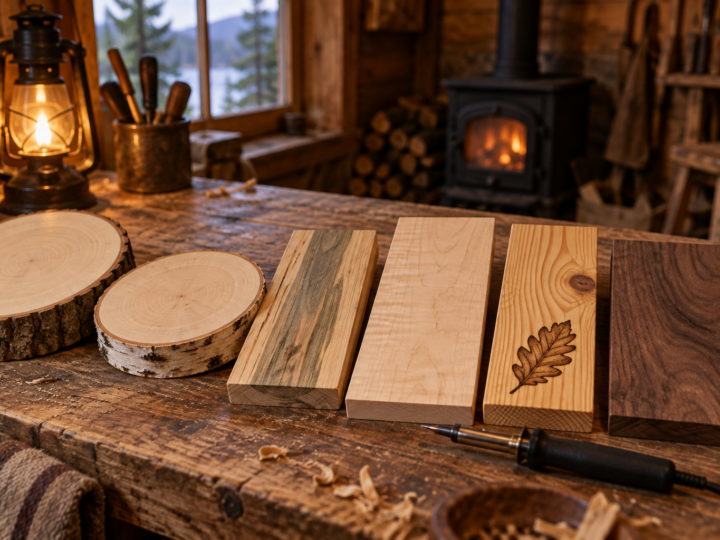
Wood burning on gourds and leather uses the same pen and the same strokes you already know, but the surface behaves differently under the tip. A dried gourd has a hard, smooth shell that takes beautiful dark lines, and it curves away from you in every direction. Vegetable-tanned leather scorches at much lower heat than wood and shows every hesitation. Both are rewarding once you prepare them properly and adjust your settings.
This last part of the series assumes you are comfortable with line work and shading on wood. If you need a refresher, start with our wood burning for beginners guide and the article on fumes and ventilation, because both new surfaces bring their own safety points.
Why gourds make such good pyrography canvases
Hard-shell gourds (the Lagenaria family, often sold as bottle, kettle, canteen or apple gourds) dry into a woody shell that is dense, even and almost grainless. Lines come out crisp, shading builds smoothly, and the natural color ranges from pale tan to mottled brown. A finished pyrography gourd can be a bowl, a birdhouse, a lamp or a purely decorative piece.
You can grow and dry your own, which takes several months, or buy dried gourds from growers. Many growers sell them both “as is” (still covered in the dried skin and mold) and pre-cleaned. Pre-cleaned gourds cost a little more and skip the messiest step, which is a good choice for a first project.
Cleaning and preparing a gourd safely
A gourd dries from the inside out, and during that time a layer of mold grows on the outer skin. That mold is normal and is part of what creates the mottled patterns. The dust from it, and from dry gourd skin and pulp, is a known respiratory irritant, and some people react strongly to it. Wear a well-fitting dust mask or respirator (N95 or better) during every cleaning step, and gloves if your skin is sensitive. Work outdoors or with good airflow.
Soaking and scraping the skin
Wet cleaning keeps dust down. Soak the gourd in warm water, or cover it with a wet towel, for about 15 to 30 minutes. Gourds float, so weigh them down or turn them as they soak. A small squirt of dish soap helps the water work in.
Once the skin softens, scrape it off with a copper or stainless scrubbing pad, a dull kitchen knife or a plastic scraper. Work in sections, rewetting stubborn areas. Underneath you will find the hard shell, often with gray and brown mold stains. Many artists keep those stains as part of the look. Rinse the gourd, then let it dry completely, usually overnight or for a day, before you burn.
Cutting and cleaning the inside
If your project needs an opening, mark the cut line with a pencil and cut with a small craft saw or a fine-toothed hand saw. The inside holds dry pulp and seeds that produce more irritating dust, so keep your mask on. Scrape the interior with a spoon, a clay loop tool or a rotary tool with a scraping bit, then lightly sand the cut edge with 150 to 220 grit.
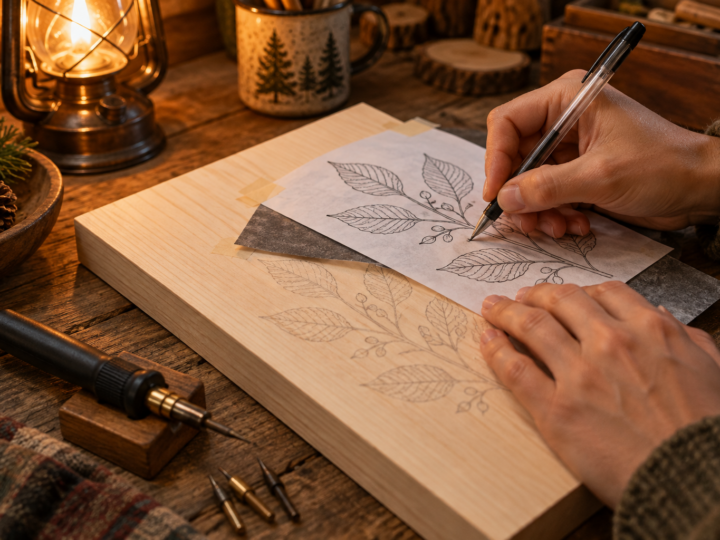
Before burning, sand the outer surface only where needed. Gourd shell is already smooth, and heavy sanding can expose a softer, lighter layer that burns differently. A light pass with 320 grit over rough spots is usually enough. Transfer your design with graphite paper or draw directly with a soft pencil; our guide on transferring patterns covers the methods, and on a curve it helps to cut the paper pattern into sections so it lies flat.
Wood burning on gourds: working on a curved surface
The hard part of gourd work is the shape. On a flat board you can rest your hand and pull long, even strokes. On a gourd, the surface rolls away under the tip and your hand has nowhere steady to sit.
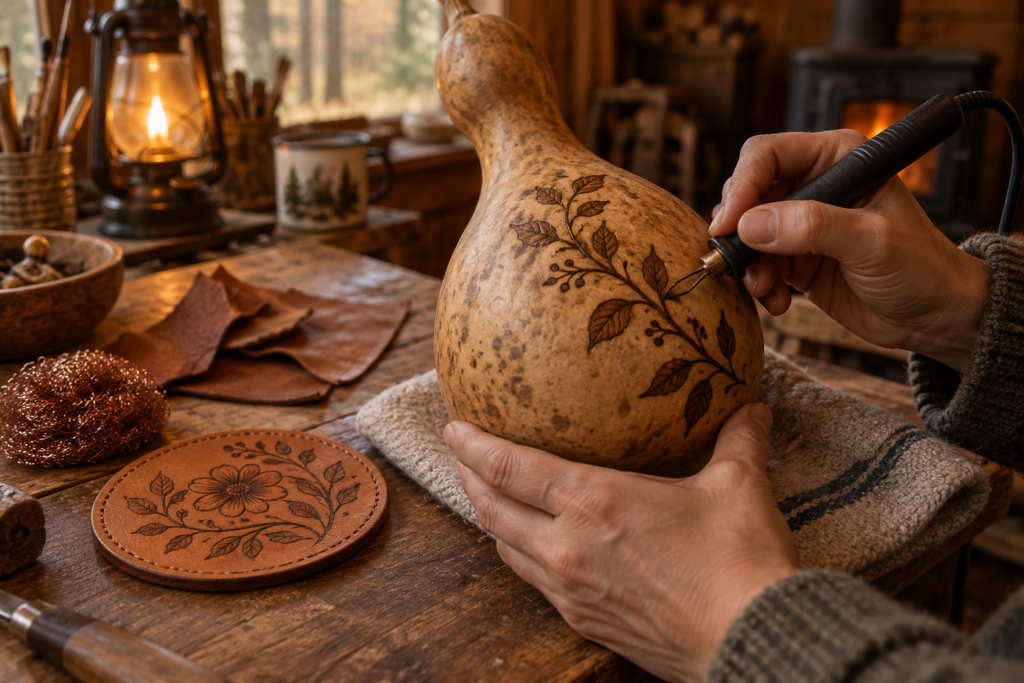
Support the gourd so it cannot roll. A folded towel, a bean bag, a cork ring or a small bowl filled with rice all work. Rotate the gourd rather than reaching around it, so the area you are burning always faces you and sits roughly level. Rest the heel of your hand or your little finger on the gourd itself, or on a padded support beside it.
Keep strokes short. Long lines that follow the curve look smooth only when they are built from many short, overlapping segments, each made with the nib flat to the surface at that point. A writing tip or a small ball tip handles curves better than a long knife edge, which tends to dig in at one end. Shaders work well for tone, but tilt them to match the curve or you will get a hard edge on one side of each stroke.
Heat settings for gourds
Gourd shell is dense and takes heat well, so settings close to what you use on hardwoods like maple are a reasonable start. Begin around the middle of your dial and adjust on a test spot near the bottom or inside the opening. Gourd skin left in patches burns faster than clean shell, so remove it fully from areas you plan to burn. The fumes are mostly plant smoke, but keep your fan or extractor running as you would for wood.
Leather pyrography: choose the right leather
This is the most important rule in leather pyrography. Burn only vegetable-tanned leather, often called veg-tan. Never burn chrome-tanned leather.
Veg-tan leather is tanned with plant tannins from bark and leaves. It is firm, pale tan or natural in color, and it is the leather sold for tooling, carving and stamping. It burns cleanly, takes crisp lines and darkens beautifully.
Chrome-tanned leather is tanned with chromium salts. It makes up most of the soft leather in jackets, bags, shoes and upholstery. Burning it can release harmful chromium compounds in the smoke, and you should not breathe those. Chrome-tanned leather also burns poorly and unevenly. If you do not know how a piece of leather was tanned, do not burn it.
The same caution applies to faux leather, bonded leather and anything with a plastic, painted or sealed coating. Faux leathers are usually PVC or polyurethane, which give off toxic fumes when heated. Stick with bare, undyed or lightly dyed veg-tan from a leather supplier.
Thickness and surface
Veg-tan is sold by weight in ounces, where one ounce is roughly 0.4 mm of thickness. For coasters, patches, bookmarks and small panels, 3 to 5 oz (about 1.2 to 2 mm) is easy to work. Belts, sheaths and journal covers use heavier leather, 6 to 9 oz. Burn on the smooth grain side, which is the outer side of the hide. The rough flesh side gives fuzzy results.
Wood burning on leather: lower heat and lighter touch
Leather scorches much faster than wood. A setting that gives a medium tone on basswood can blacken and shrink leather instantly. Start low, around a quarter to a third of your dial on a wire nib burner, and creep upward on a test scrap. Solid point pens with no temperature control are hard to use on leather because they run hot; if you have one, move faster and test more.
Burn on dry leather. Damp leather is good for tooling, but under a hot tip the moisture steams and the burn spreads unevenly. Use very light pressure. The nib should glide over the surface, not press into it, since pressure leaves dents that show at an angle. Too much heat also makes leather shrink and curl at the edges of dark areas.
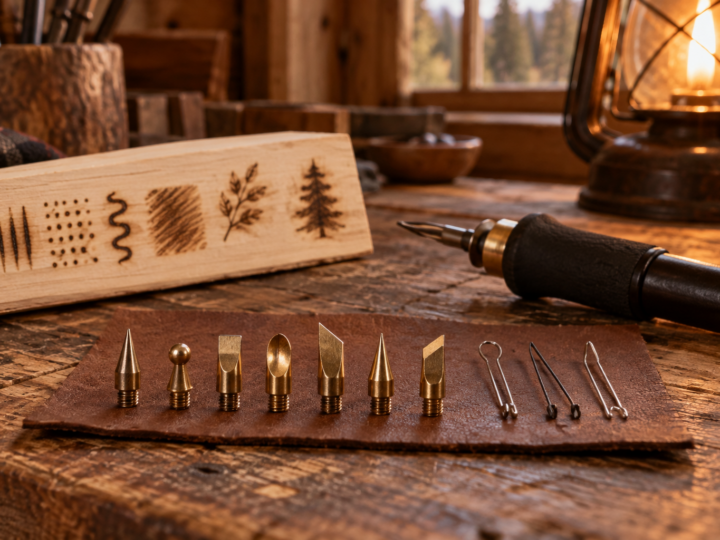
Writing tips and small shaders are the most useful nibs. Stippling with a ball tip works well on leather and gives a soft, even texture. Clean the tip often, because leather leaves a sticky residue that builds up quickly and drags across the surface. Our guide to wood burning tips and their uses explains cleaning methods that suit wire nibs.
Burning leather smells strong, a bit like singed hair. Good ventilation and a fan or extractor pulling the smoke away from your face matter even more here than with wood.
Practice on scraps first
Both materials are less forgiving than wood and harder to replace if you ruin a special piece. Leather suppliers sell offcut bags of veg-tan at low cost, and they are perfect for practice. For gourds, use the piece you cut out of the opening, or buy a few small, cheap gourds just for testing.
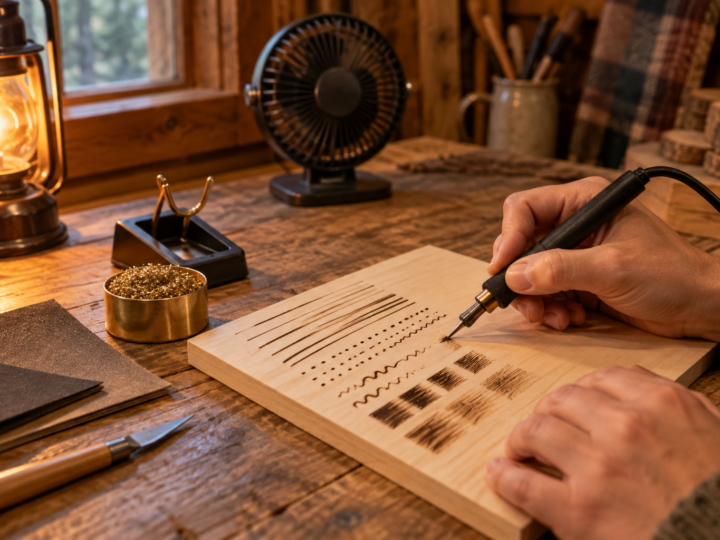
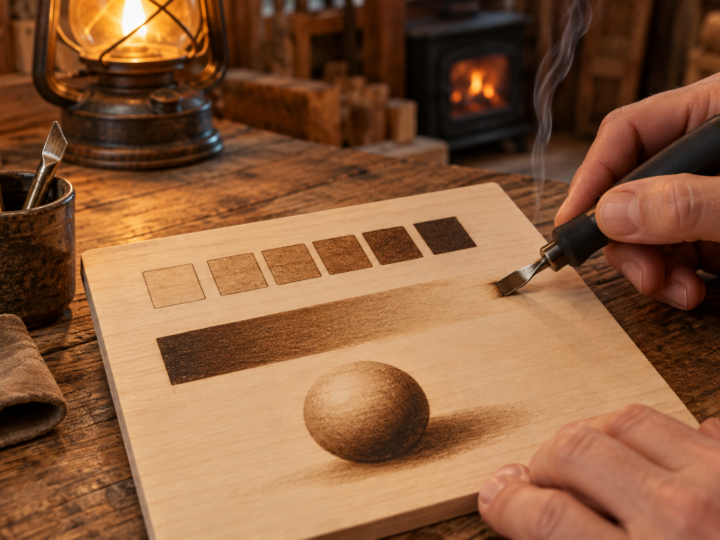
On each scrap, burn a short line at several settings, a small value scale from light to dark, and a few stipple dots. Write the setting next to each one with a pencil. Then try your finish over half of the scrap. Ten minutes of testing tells you more than any chart. The free printable designs in our pattern collection scale down well for practice patches and small gourds.
Finishing gourds and leather
Gourd finishes
Gourds finish much like wood. Spray lacquer or a clear acrylic spray is the easiest choice on a curved surface, because you avoid drips and brush marks. Apply several light coats, rotating the gourd between them. Paste wax buffed to a soft sheen suits decorative pieces, and a thin oil finish deepens the natural color. Gourds can be colored after burning with leather dyes, inks, colored pencils or thinned acrylics, just as on wood, and sealed afterward. The options are covered in our guide on how to finish and seal wood burning.
A gourd used as a birdhouse needs several coats of an exterior-grade clear finish, plus drainage holes in the bottom. Gourds used as bowls should hold dry items only, unless the interior is sealed with a finish rated for food contact.
Leather finishes
Leather needs a finish that stays flexible. Wait until the burn has cooled, then apply a leather conditioner or a light coat of neatsfoot oil to keep the leather supple. Both darken the leather, sometimes a lot, so test first. Over that, a water-based acrylic leather finish or a leather sealer protects against moisture and wear. Apply thin coats with a soft cloth or sponge and let each dry before the next.
For items that bend, like belts and bracelets, avoid hard finishes meant for wood, such as polyurethane, because they crack when the leather flexes. If you want color, leather dyes go on before the sealer, and they can be applied before or after burning; dye applied first darkens the burn contrast, so many burners add it afterward.
Common problems and quick fixes
Uneven lines on gourds usually mean the nib is tilting off the curve. Shorten your strokes and rotate the gourd more often. Dark blotches where you started a line come from setting the hot tip down and pausing, so start each stroke with the hand already moving.
On leather, shiny black patches and curling edges mean the heat is too high. Drop the setting and add more passes. If the tip drags or skips, clean it. A hard, glazed spot will not take more tone well, so plan your darks to build gradually from the start, the same approach used in our guide to realistic portraits and animals.
Frequently asked questions
Can I use a regular wood burning pen on leather?
Yes, as long as you can control the heat. Wire nib burners with adjustable dials are ideal. Solid point pens without temperature control run hot, so they need fast strokes and plenty of testing on scraps.
How can I tell if leather is veg-tan or chrome-tanned?
The safest way is to buy from a leather supplier that labels it as vegetable-tanned. Veg-tan is firm and pale on the cut edge, while chrome-tanned leather is usually soft with a bluish or gray core. If you are unsure, do not burn it.
Do I need to wear a mask when cleaning gourds?
Yes. Dust from gourd mold, skin and pulp irritates the lungs and can trigger allergies or asthma. Wear an N95 or better mask, keep the gourd wet while scraping, and work outdoors when you can.
How long does a gourd need to dry before burning?
A freshly harvested gourd needs several months to dry fully; it is ready when it feels light and the seeds rattle. After wet cleaning, let the shell dry for at least a day before burning so moisture does not affect the tone.
Continue the Learn Pyrography series
This is part 13 of 13. Previous: Wood Burning Portraits and Realistic Animals: An Advanced Guide. You have reached the end of the series, so put your skills to work and browse our free wood burning patterns. New to the series? Start with Wood Burning Safety, then the beginner guide.