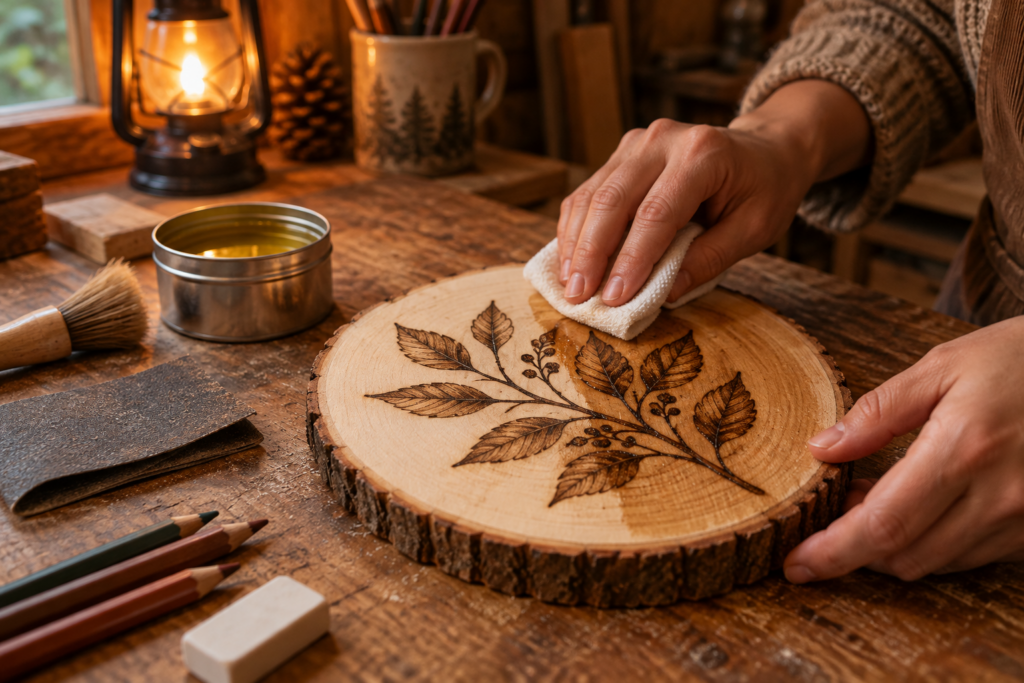
Before you open any can of finish, take a soft white eraser and lift every trace of pencil from the board, then brush the dust away with a dry paintbrush. Graphite trapped under a finish stays there forever, and it shows up as a gray shine in the light. That one step is the start of learning how to seal wood burning properly, and the rest of the process is just as practical: a light sanding, a test on scrap, a finish chosen for how the piece will be used, and color added at the right moment if you want it.
A finish protects the burn from dirt, moisture and hands. It also changes how the piece looks. Some finishes deepen the browns and warm the bare wood to amber, others leave it almost exactly as it came off the bench. Knowing which does what saves a lot of disappointment after hours of careful shading work.
Clean up the burn before you seal it
Start with the guide lines. If you used graphite transfer or pencil tracing (the methods in our guide on how to transfer a pattern to wood), some lines will still sit outside the burned areas. A white vinyl eraser handles most of them. A kneaded eraser, pressed and lifted, handles stubborn marks in tight spots.
Erase gently over the burned areas too, since heavy scrubbing can polish the carbon into shiny patches.
Light sanding, and when to skip it
Burning raises a little fuzz at the edges of lines, especially on softer woods like basswood. A quick pass with 320 or 400 grit sandpaper, held flat on a block or folded over a fingertip, knocks that fuzz down. Go with the grain, use almost no pressure, and stop after two or three strokes per area.
Sanding lightens burned areas slightly, because it takes off the very top layer of scorched fibers. That can be useful to soften a harsh edge or recover a highlight, but it can also wash out pale shading. On delicate work, sand only the unburned background and the margins. On bold line work, a full light pass is usually fine. Wipe all the dust off afterwards with a tack cloth or a slightly damp lint-free rag and let the surface dry completely.
How to seal wood burning: the main finish options
Every finish has a look, a level of protection and a way it goes on. For wall art and decor, nearly any of these works. For things that get handled or washed, the choice narrows. Here is how the common options compare.
| Finish | Color change | Protection | Best for |
|---|---|---|---|
| Danish oil | Warms and darkens noticeably | Low to medium | Decor where you want rich, glowing wood |
| Pure tung oil | Warms, slight amber over time | Medium once fully cured | Hand-rubbed look, boxes, plaques |
| Wipe-on polyurethane (oil based) | Amber tint, deepens with coats | High | Coasters, signs, furniture pieces |
| Spray lacquer | Slight darkening, fast build | Medium to high | Detailed art, ornaments, quick projects |
| Water-based polyurethane | Very little, stays pale | High | Light woods, colored pieces, keeping it true |
| Paste wax | Minimal, soft sheen | Low | Light handling, a top coat over oil |
Danish oil and tung oil
Oils soak into the wood rather than sitting on top, so they give a natural, low-sheen look. Danish oil is a blend of oil and varnish with solvent, which makes it easy to wipe on. Flood the surface, wait about 15 minutes, wipe off every bit of excess, and let it dry overnight. Two or three coats is typical.
Pure tung oil cures slower and needs thin coats, with a day or more between them. It builds a tougher, more water-resistant surface than most oil blends once fully cured, which can take a few weeks.
Both oils darken the bare wood, which shrinks the contrast between pale background and burned lines. On basswood the change is strong: creamy white turns to warm honey. Pale shading can almost disappear. If your piece relies on soft, light tones, test first or pick a water-based finish.
One safety habit matters with any oil: rags soaked in drying oils can heat up and catch fire as they cure. Lay used rags flat outside to dry, or put them in a sealed metal can with water, before throwing them out.
Wipe-on polyurethane
Oil-based wipe-on poly is a thinned varnish that you apply with a folded lint-free cloth. Let each coat dry for four to six hours, then scuff very lightly with 400 grit or a fine abrasive pad before the next one.
Expect an amber tint that gets a little stronger with each coat and with age. On walnut or cherry, nobody notices. On basswood or maple, the background turns noticeably yellow.
Spray lacquer
Aerosol lacquer is the quickest way to seal detailed work, because nothing touches the surface. Hold the can 20 to 30 cm away, sweep past the edge of the piece before and after each pass, and lay down several light mist coats rather than one wet one. Most lacquers are dry to the touch in 15 to 30 minutes, so you can finish an ornament in an afternoon.
The fumes are strong, so spray outdoors or in a well-ventilated space with a respirator rated for organic vapors. The same ventilation habits from our article on wood burning safety apply here.
Water-based polyurethane
If you want the piece to look the way it did on the bench, water-based poly is the closest you will get. It dries nearly clear, keeps pale woods pale, and does not yellow much over time.
Because it contains water, the first coat will raise the grain a little. Let it dry, sand gently with 400 grit, then apply two or three more thin coats with a foam brush or a good synthetic brush. Brush in one direction and do not go back over areas that have started to set.
Wax
Paste wax gives a soft, touchable sheen and barely changes the color. On its own it offers light protection only, fine for a decorative plaque that hangs on a wall but not for a coaster.
Always test the finish on scrap first
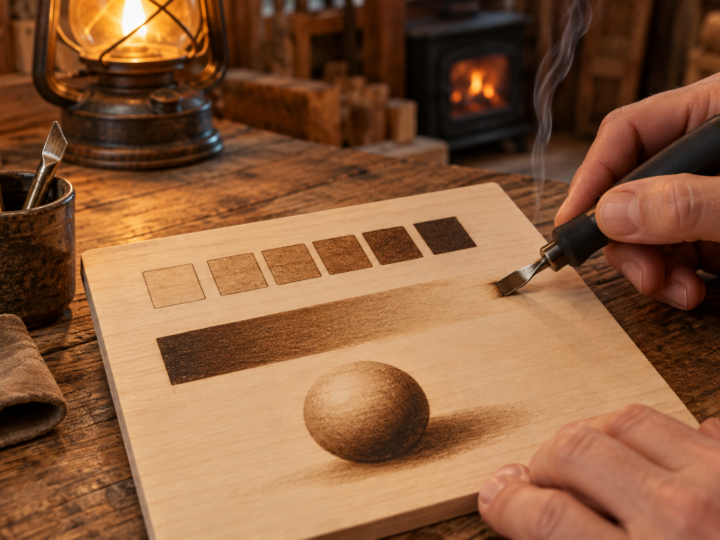
The single best habit in finishing is a test board. Take an offcut of the same wood as your project, burn a small patch with three tones (light, medium and dark), add a few lines, and if you plan to color, a swatch of each color too. Then apply your chosen finish to half of it and leave the other half bare.
Let it dry fully and look at it in daylight. You will see how much the background darkens, whether the pale tones survive, and whether any color bleeds or shifts.
Food-safe finishes for spoons and cutting boards
Burned spoons, spatulas and boards are popular gifts, and they need a different approach. Skip the varnishes and lacquers. Use a finish that is safe in contact with food and easy to renew at home.
Food-grade mineral oil is the standard. It is cheap, does not go rancid, and soaks in well. Warm it slightly, wipe on a generous coat, let it sit for 20 minutes or so, then wipe off what has not soaked in.
Beeswax blends, often sold as board butter or spoon butter, mix mineral oil with beeswax (and sometimes carnauba). They add a little more water resistance and a soft sheen. Rub them in with a cloth or your fingers and buff off the excess after 15 minutes. Avoid cooking oils like olive or sunflower oil, which can turn sticky and smell stale over time.
Keep burns off the cutting surface
On a cutting board, put the design where knives will not reach: the handle, a border, the edges, or the back side if the board is meant to be displayed. Burned areas are slightly charred and porous, and knife cuts over them will wear the design away and loosen bits of carbon into food. A board with a burned face is a serving or display board, so tell the person who receives it.
For spoons, keep the design on the handle and leave the bowl plain. Food-safe finishes wear off with washing, so include a note asking the owner to hand wash, dry promptly and re-oil every few weeks or whenever the wood looks dry.
Wood burning with color: pencils, watercolor and acrylic
Color can turn a brown and cream piece into something that pops, and it works best when it supports the burning rather than covering it. The burned lines and shading carry the structure. The color adds a tint over them and on the lighter areas.
When to color: after burning, before sealing
Always finish all your burning first. Burning through paint or pencil releases fumes from the pigments and binders, and you do not want to breathe those. Burning over color also tends to smear and discolor it. Once the burn is complete and the guide lines are gone, add color, let it dry fully, then seal. The finish protects the color from fading and smudging and evens out the sheen across burned and painted areas.
Colored pencils
Pencils are the easiest way to learn how to color wood burning, because you have full control and can build up slowly. Oil-based or wax-based artist pencils lay down well on smooth wood. Work in light layers, following the grain, and burnish with a colorless blender pencil if you want a smoother look.
Watercolor
Watercolor gives soft, transparent tints that let the burning show through completely. Use less water than you would on paper, since wood soaks up moisture and the color can bleed along the grain. A damp, not wet, brush gives you more control.
Acrylic washes
Straight acrylic paint is opaque and will hide your burning. Thinned to a wash (roughly one part paint to four or five parts water), it becomes transparent and tints the wood like a stain. Build two or three washes for stronger color. Acrylic is more permanent than watercolor once dry, so it holds up better under brushed finishes.
Seal colored pieces with a spray finish first if you plan to brush on a top coat. A couple of light mist coats lock the color in place, so the brush cannot drag it around.
Common finishing mistakes and fixes
Most finishing problems come from rushing.
- Pencil lines sealed in. Once a finish is on, they are there for good. Erase carefully before the first coat, and check under a raking light from the side.
- Sticky oil finish. Excess oil was left on the surface. Wipe with a rag dampened with mineral spirits, let it dry, and wipe off excess more thoroughly next time.
- Cloudy lacquer. Moisture got trapped. Spraying another light coat on a dry, warm day often clears it.
- Pale shading disappeared. An oil finish darkened the wood. There is no undo, so test first next time and pick water-based poly for light work.
If you are still building skills, the free printable patterns in our pattern collection make good practice pieces for trying a new finish or color method before using it on something important. The textured work from our guide to pyrography textures is especially good for seeing how finishes change fine detail.
Caring for finished pieces
Hang finished pieces out of strong sun, since both burning and color fade slowly in it. For anything you sell or gift, add a small card that names the finish and gives care instructions. If you are new to the craft and want the full picture from the beginning, our wood burning for beginners guide covers the first steps, and once you are comfortable finishing work, the next step is the more demanding subject of realistic portraits and animals.
Frequently asked questions
Do you have to seal wood burning?
You do not have to, but unsealed pieces pick up dirt, finger oils and moisture, and the burning can slowly fade or smudge. Sealing is strongly recommended for anything that will be handled. A wall piece kept out of sun can survive without it, though a light finish still helps.
What is the best clear coat for wood burning that will not yellow?
Water-based polyurethane in a satin sheen stays the clearest and yellows the least. Some water-based spray lacquers and acrylic sprays are similar. Test on scrap, since products vary.
How long should I wait after burning before applying finish?
The wood is ready as soon as it has cooled and you have erased guide lines and removed dust. If you added color, wait until it is completely dry, usually a few hours for washes and overnight to be safe.
Continue the Learn Pyrography series
This is part 11 of 13. Previous: Pyrography Textures: Stippling, Fur, Feathers and Wood Grain. Next: Wood Burning Portraits and Realistic Animals: An Advanced Guide. New to the series? Start with Wood Burning Safety, then the beginner guide.