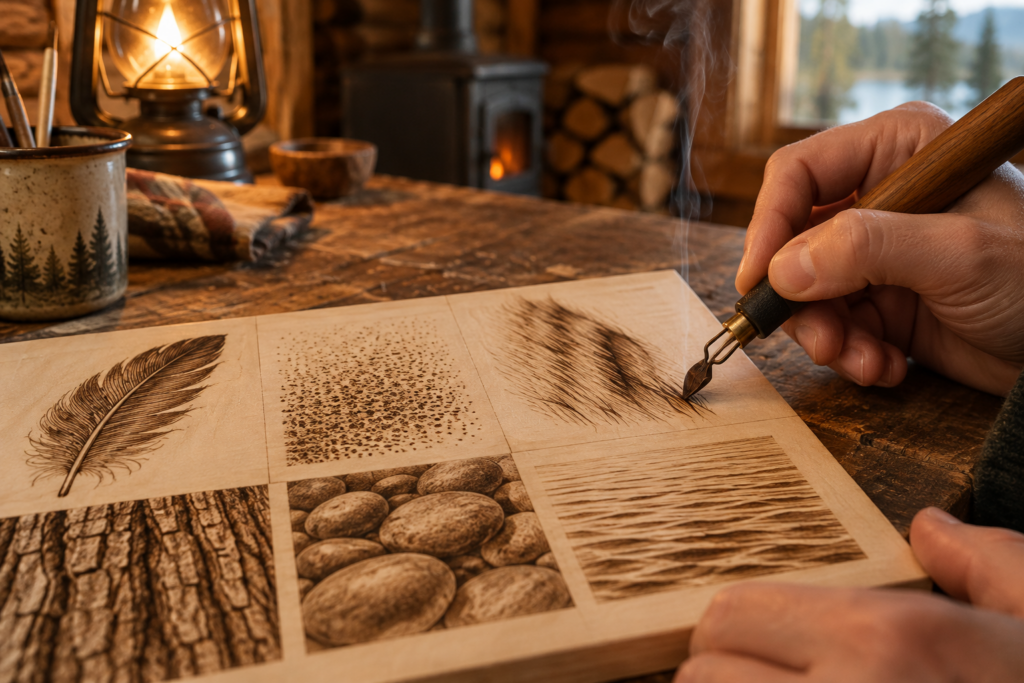
Texture is what makes a burned fox look soft, a feather look light and a tree trunk look rough enough to touch. Most pyrography texture techniques come down to repeating one small mark many times, with control over its size, direction, spacing and darkness. Get those four things right and the wood does the rest. This article covers stippling, fur, feathers, wood grain and bark, stone and water, with practice board exercises for each.
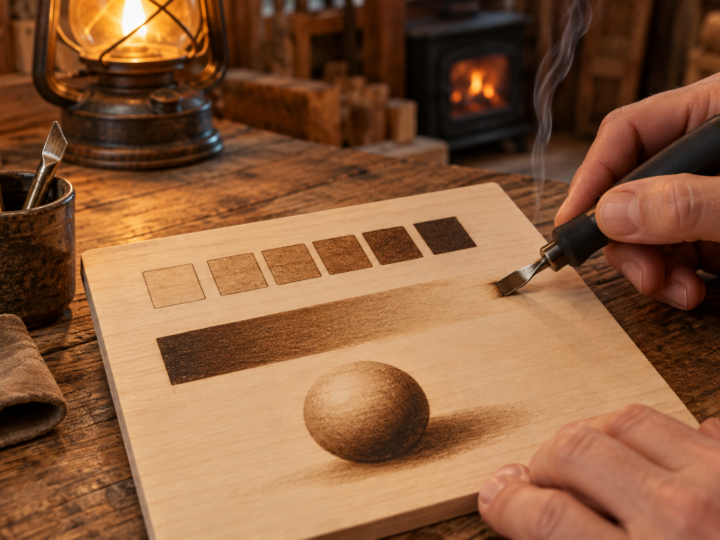
You will get the most from it if you can already make a smooth tone and a pull-away stroke, which our article on wood burning shading techniques covers. If you are just starting out, the beginner’s guide to your first burn is the place to begin.
Set up a texture practice board
Before trying texture on a real project, make a practice board. Take a sanded basswood plank around 20 by 30 cm and divide it into a grid of 5 cm squares with a hard pencil. Label each square lightly on the back so you know which texture went where. Fill one square per texture as you work through this article, and keep the board as a reference.
Basswood or birch gives the most even results. Pine and oak can work for rustic bark effects, since their own grain adds character, but they are frustrating for fine fur and feathers. Plywood is not recommended for any of this: the glue layers give off harmful fumes and burn unevenly.
Texture work produces a lot of small, repeated burns and a steady trickle of smoke. Keep a fan or fume extractor pulling the smoke away from you, and take a short break every 20 to 30 minutes to rest your hand. Tired hands make sloppy, uneven marks.
Wood burning stippling
Stippling builds tone and texture from dots. Dense dots read as dark, sparse dots as light. It is slow, but it gives a soft, grainy look that suits sand, moss, lichen, the noses of animals, freckled mushroom caps and vintage style illustrations.
A ball tip or a fine writing tip is the usual choice. Hold the pen upright and touch it down straight, then lift straight up. Any sideways drag turns a dot into a comma. Dwell time sets the dot size: a quick tap gives a small, light dot, a half second hold gives a bigger, darker one. Keep the heat moderate so each dot stays round without a scorched halo.
Stippling exercise
In one square, stipple a gradient from dense at one side to scattered at the other. Place dots randomly rather than in rows, because rows show up as a pattern. Then, in a second square, try a sphere using only dots, clustering them on the shadow side. Expect each square to take 10 to 15 minutes. That is normal.
Pyrography fur
Fur is the texture most people want to learn, and the one most often burned badly. Convincing fur depends on four things: direction, length, layering and highlights.
Direction
Fur grows in flows that follow the shape of the animal. On a dog’s face it radiates out from the nose, sweeps back over the forehead and curves down the cheeks. Before burning, draw light pencil arrows showing the direction of growth across the whole animal. Study a reference photo closely, because getting direction wrong makes fur look like scratches no matter how well each stroke is burned.
Length
Short fur on the face, legs and ears needs short strokes, often only 2 to 4 mm. Longer fur on the chest, tail or a long haired breed needs longer, slightly curved strokes. Change length gradually across the body, the way real fur does. Each stroke should be a tiny pull-away: touch down at the root, flick out toward the tip so the hair tapers.
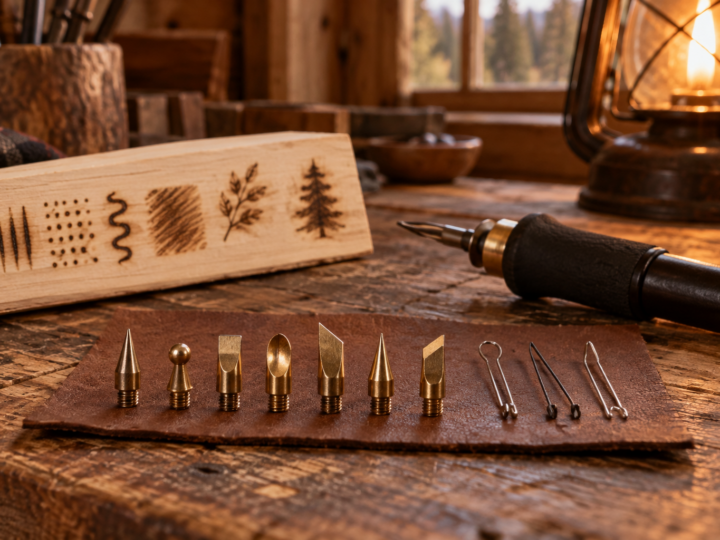
For fine fur, a wire nib with a sharp edge, such as a skew or a knife edge, gives the thinnest, crispest hairs. A solid point pen can still make good fur using its fine cone tip or the edge of its shader, though the strokes will be a bit wider. Our guide to what each wood burning tip does shows which shapes suit fine line work.
Layering
Fur is never burned in a single layer. Start with a light base tone using a shader, following the fur direction, to set the overall light and dark areas. Then burn a layer of individual hairs at a light setting. Add a second layer of hairs, slightly darker, in the shadow areas and between the first hairs. Finish with a few dark accents at the roots and in the deepest shadows, such as under the chin or behind the ears.
Highlights
Light catching individual hairs is what makes fur look glossy. The easiest way to keep highlights is to plan them and leave those areas lighter from the start. You can also scratch highlights back in after burning: draw a sharp craft knife or a fibreglass pen along the fur direction to lift thin pale lines out of a dark area. Keep scratched hairs few and confident, since too many look like a mistake.
For your practice board, burn a square of short fur and a square of long, curved fur. Then burn a small patch where fur changes direction around a curve, as it does at a cat’s shoulder. These skills carry straight into realistic animal pyrography later in the series.
How to burn feathers
Feathers look complicated but follow a simple structure. A central shaft, called the rachis, runs down the middle. Barbs grow out from it at an angle, all sweeping toward the tip. Where barbs separate, small gaps open up, and those gaps are what make a feather look real.
- Draw the shaft and the outer edge of the feather in pencil.
- Burn the shaft as two fine parallel lines, leaving the centre pale so it looks rounded.
- Burn barbs as pull-away strokes starting at the shaft and fading toward the edge, angled toward the tip. Keep them close and slightly curved.
- Leave a few narrow splits where groups of barbs separate, and burn the edges of each split slightly darker.
- Shade along one side of the shaft and near the base to give the feather a gentle curve.
- Add loose, fluffy strokes at the base, where the downy part of the feather sits.
A sharp skew or a fine knife edge nib gives the crispest barbs. Keep the heat moderate and the strokes quick. Slow, hot strokes make barbs merge into a flat dark area and the feather loses its lightness. Feathers are a popular beginner pattern, and the free printable designs on our wood burning patterns blog include simple feather outlines that are perfect for practising this.
Wood grain and bark
Burning a wood texture onto wood might sound odd, but it is useful for fences, barns, cabins, signs within a scene and tree trunks. The trick is to keep it slightly simplified, since a realistic grain over every surface quickly gets busy.
Wood grain
For planks, burn long, slightly wavy lines running the length of each board, with uneven spacing. Add a knot or two by burning small concentric ovals, then curve nearby grain lines around the knot as real grain does. Darken the edges where boards meet and shade one side of each plank slightly to show depth. A fine writing tip works for the grain lines, and a shader for the shading.
Bark
Bark varies a lot by tree. Rough bark, such as oak or pine, has deep vertical furrows and raised ridges. Burn the furrows dark with a writing tip or the edge of a shader, using broken, irregular lines. Leave the ridges lighter, shading only one side to suggest the light direction. Birch bark is different: mostly pale, with short dark horizontal marks and peeling curls. Leave most of it bare and burn the dark marks crisply.
On a round trunk, darken both edges and keep the centre lighter so the trunk reads as a cylinder. Texture marks should also get smaller and closer together toward the edges, which strengthens the sense of roundness.
Stone and rock textures
Stone looks hard because of sharp edges and broad flat planes. Start by deciding on a light direction, then shade each stone with a flat top plane left light, side planes in middle tone and the shadow side dark. Use a shader with scumbling circles for smooth stone such as river pebbles.
For rough rock, add texture after the tone is in place. Stipple a scattering of dark dots and a few short, broken cracks with a fine tip. Lichen and moss can be suggested with dense, clustered stippling at the base or on the top surfaces. Cast shadows where stones meet the ground or each other, and darken the gaps between stones in a wall, so each stone pops forward.
Water and reflections
Water is mostly about what you leave unburned. Calm water reads as long, horizontal bands of smooth tone with thin pale gaps between them. Burn these bands with a shader using long, steady side to side strokes, and keep them strictly horizontal. Even a slight tilt makes a lake look like it is sloping.
Reflections sit directly below the object, slightly darker and less detailed, broken into horizontal slices by the ripples. Moving water, such as a stream, uses shorter, curved strokes that follow the flow around rocks, with plenty of bare wood for foam and sparkle. Scratching a few tiny highlights back out with a craft knife adds a convincing glint.
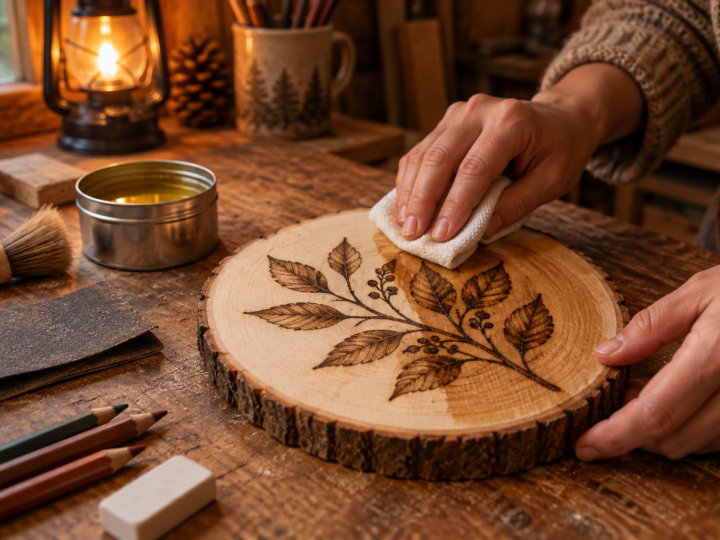
Once your textured piece is burned, sealing it protects all that fine work, and our guide on how to finish and seal wood burning explains which finishes keep pale highlights from yellowing.
A combined practice scene
When every square on your practice board is filled, try a small scene about 10 by 15 cm that uses several textures together: a tree trunk with bark on one side, a few stones at its base, a strip of calm water in front and a feather resting on a rock. Combining textures teaches contrast. Rough bark looks rougher next to smooth water, and a soft feather looks softer against hard stone. Burn the lightest textures first and the darkest last, so you do not drag soot from dark areas into pale ones.
Frequently asked questions
What tip is best for burning fur?
A sharp skew or knife edge on a wire nib burner gives the finest, crispest hairs. A solid point pen can still make convincing fur with its fine cone tip or the edge of a shader. Use a flat shader for the base tone underneath the hairs.
Why do my stipple dots look like smudges?
The pen is probably moving sideways as it touches down or lifts off. Hold it upright, lower it straight down and lift it straight up. If the dots still spread, lower the heat a little so each dot stays round.
How do I make burned fur look soft instead of scratchy?
Burn a smooth base tone first, then build hairs in several light layers rather than one dark one. Taper each stroke with a pull-away motion so the tips fade out. Following the correct growth direction matters as much as the strokes themselves.
Can I add highlights after burning?
Yes. Scrape thin pale lines or dots out of burned areas with a sharp craft knife, a scalpel or a fibreglass pen. Work gently and in the direction of the texture. Planning highlights and leaving them unburned from the start still gives the cleanest result.
Continue the Learn Pyrography series
This is part 10 of 13. Previous: Wood Burning Shading Techniques: From Flat Tone to Real Depth. Next: How to Finish, Seal and Color Wood Burning Art. New to the series? Start with Wood Burning Safety, then the beginner guide.