The most useful wood burning tips for beginners are small habits: start with the dial lower than you think, keep the pen moving, test on scrap first, and clean your tip often. Those four alone fix most of the blotchy lines and dark dots that make early pieces look rough. The other 21 tips below build on them, from setting up your bench to fixing mistakes with sandpaper and a blade.
We grouped them by stage, so you can read straight through before your first project or jump to the section you need. If you have not burned anything yet, read the step-by-step guide to your first burn first, then come back here.
Setup and materials
1. Start on basswood
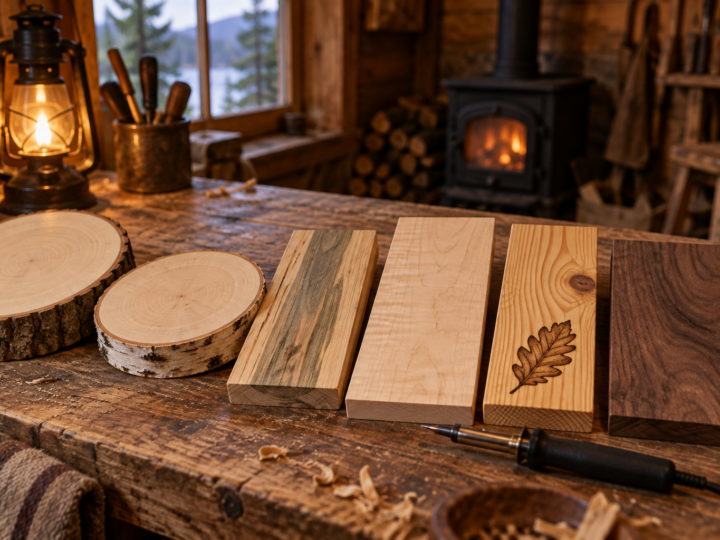
Basswood is pale, soft and evenly grained, so the pen behaves the same across the whole surface. That consistency lets you learn heat and speed without the wood fighting you. Pine, oak and other woods with strong grain lines come later. Our guide to the best wood for wood burning compares the common options, and explains why we never recommend plywood.
2. Sand before you burn
Even craft store blanks have a slightly rough face. Sand with the grain to 320 grit and wipe the dust away. A smooth surface lets the tip glide, so lines come out even and shading looks soft instead of scratchy. Sand before transferring your pattern, never after.
3. Set up ventilation every time
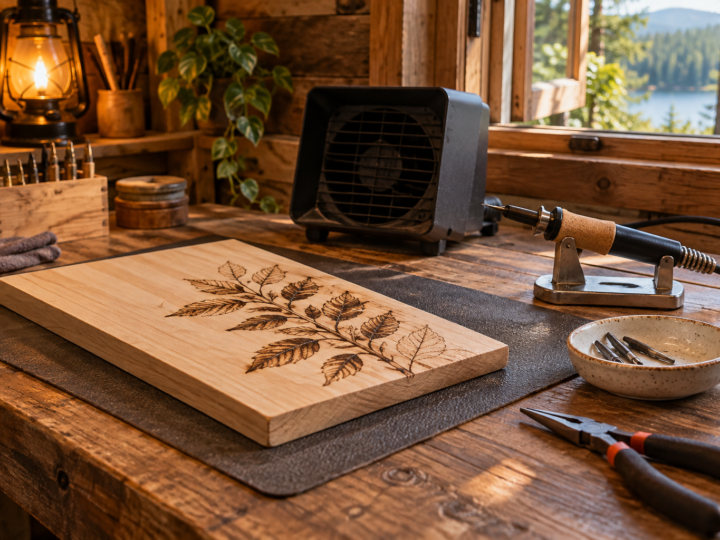
All wood smoke irritates your lungs and eyes. Put a fume extractor or a small fan beside your work so it pulls smoke away from your face, and open a window if you can. It takes a minute and makes long sessions far more comfortable. The wood burning safety guide has more on setups that work.
4. Give the pen a safe home
Always rest the hot pen in its stand, never on the table. Place the stand on the side of your dominant hand so you never reach across the tip. Keep the cord clear of your elbow and the edge of the bench, because a snagged cord is the usual way a hot pen ends up on the floor or your lap.
5. Keep a scrap board beside you
A scrap of the same wood you are working on is your test strip. Burn a line on it every time you change the heat, swap a tip or come back from a break. Ideally use an offcut from the same board, since two pieces of basswood can still burn slightly differently.
The scrap is also where you warm up. Spend two or three minutes burning straight lines, curves and small circles before you touch the real piece. Your hand settles, you get a feel for the heat, and the first stroke on your project is rarely the first stroke of the day.
Heat and pen control tips
6. Start low and turn up slowly
On a variable temperature burner, start around a third of the way up the dial and adjust in small steps. You can always add heat or slow down to go darker, but you cannot easily remove a scorch. Many beginners burn too hot, which gives black lines with burned halos around them.
Dial numbers are not universal, so a 5 on one burner may be a 7 on another. Treat the number as a note for your own tool, not a recipe. When you find a setting you like for outlines on basswood, write it on a piece of tape stuck to the burner box.
7. Let the tip heat fully
Solid point pens can take a few minutes to reach a stable temperature, and wire nib burners need several seconds after each change. Burning before the tip settles gives lines that start light and get darker as you go. Wait, test on scrap, then begin.
8. Speed controls darkness more than pressure
Slow strokes give dark tones, fast strokes give light ones. Pressing harder does darken a little, but it also gouges the wood and leaves grooves you can feel. Hold the pen like a pencil, touch the surface lightly, and change your speed to change the tone.
9. Keep the pen moving as it lands and lifts
A pen that sits still for even half a second leaves a dark blob. Start moving your hand just before the tip touches the wood and keep it moving as you lift away. This “landing like a plane” motion gives lines with clean, even ends.
Practice it on scrap by burning rows of short dashes. At first the ends will be darker than the middle. After a few rows you will feel the timing, and the dashes will even out from end to end.
10. Turn the board, not your wrist
Most people pull lines toward themselves most smoothly. Rotate the work so every stroke is in your comfortable direction, instead of twisting your wrist into awkward angles. A small lazy Susan or a sheet of grippy shelf liner under the board makes this easy.
11. Take breaks for your hand and the wood
Gripping a warm pen for an hour makes your hand tense, and tense hands make shaky lines. Stop every 20 to 30 minutes to stretch. Breaks also help you see your work fresh, which is when you notice areas that need more contrast.
Lines, shading and pyrography tips for cleaner work
12. Transfer only the lines you need
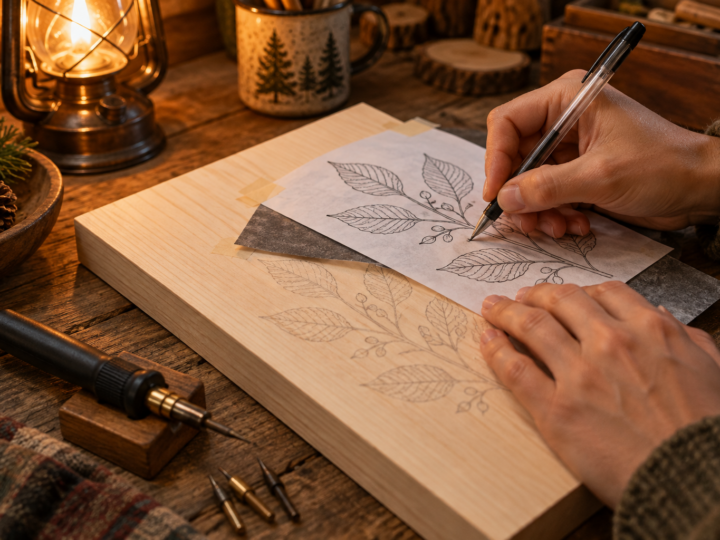
Graphite lines that sit outside your burn stay visible. Transfer outlines and a few landmarks, then burn the rest by eye with the printout next to you. The full method is in our guide on how to transfer a pattern to wood, and our free printable patterns make good practice pieces.
13. Outline lightly first
Burn your first pass of outlines pale. A light line can always be darkened, and it gives you a chance to correct the shape before committing. Many finished pieces look better with fewer hard outlines anyway, letting shading define the edges.
14. Build tone in layers
For dark areas, make several passes at a moderate heat rather than one slow pass at high heat. Layered tone looks smoother and richer, and it avoids the shiny, cracked surface you get from scorching. The guide to wood burning shading techniques covers this in depth.
15. Follow the grain where you can
Strokes along the grain glide easily. Strokes across it can skip on harder bands and dig into softer ones. When shading large areas, work with the grain direction, and when you must cross it, slow down slightly and lighten your touch.
16. Work from dark to light in each area
Burn the deepest shadows of a section first, then blend outward into mid tones and highlights. This sets your contrast range early, so you can judge how dark the rest needs to be. Leave the palest highlights as bare wood.
17. Make a tone and stroke sampler
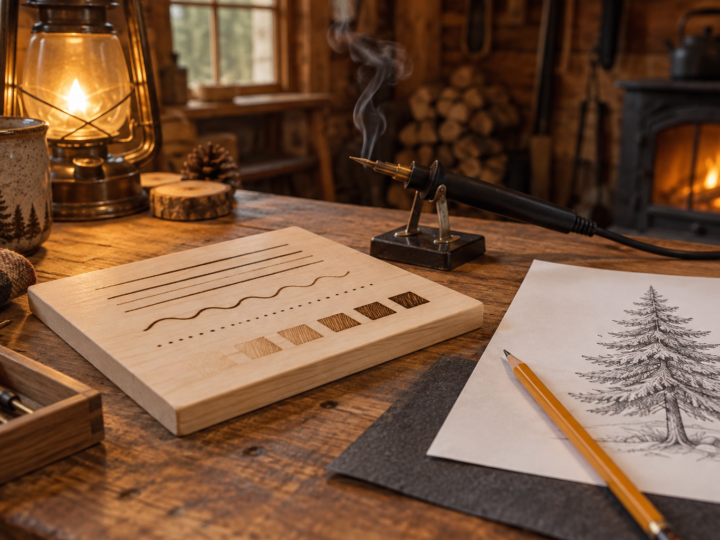
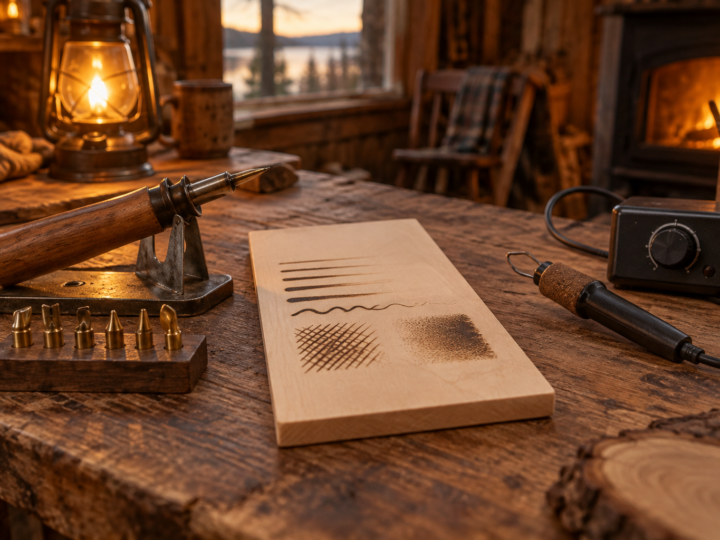
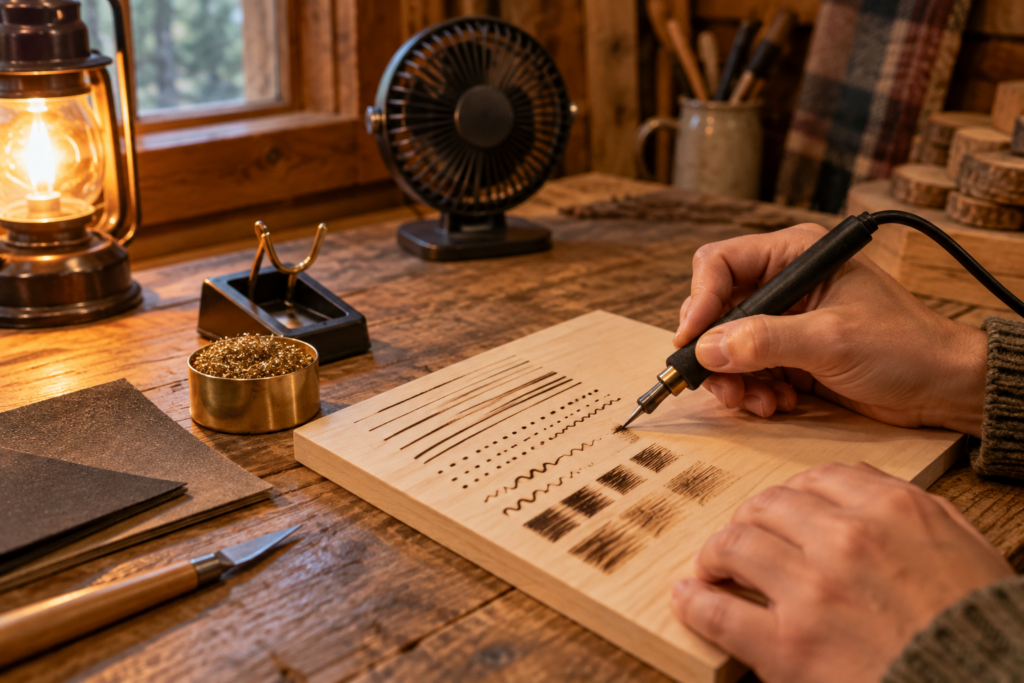
On a spare board, burn rows of the same stroke at different speeds and settings, and label the dial number in pencil. Add stippling, hatching and small circles. It takes an evening and becomes a reference card you will use for years.
Looking after your tips and tool
18. Clean the tip often
Carbon builds up on a hot tip and makes it drag and burn unevenly. Wipe it gently on a brass wool tip cleaner or a strop with fine abrasive every few minutes. Avoid scraping with steel tools, which can damage plated tips.
19. Change tips only when cold
On solid point pens, unplug and let the tool cool before unscrewing a tip, or use pliers made for the job. Hot threads can strip or seize. Do not overtighten new tips either; snug is enough. The guide on what each nib does covers changing and cleaning in more detail.
20. Learn three tips well before buying more
Kits often include a dozen tips, and most beginners only need a universal or writing tip, a shader and a fine point. Master those first. If you are still choosing equipment, the comparison of solid point and wire nib burners explains what each type does well.
How to fix wood burning mistakes
21. Sand out light mistakes
Pale or medium burns usually sit in the top fibers. Fold a small piece of 220 grit sandpaper, or wrap it around a pencil eraser for precision, and sand only the mistake, with the grain. Finish with 320 grit so the area matches its surroundings.
22. Scrape deeper marks with a blade
For dark lines or small blobs, hold a sharp craft knife or a single edge razor blade almost flat and scrape gently in the direction of the grain. Take off thin layers until the mark fades. Go slowly; digging leaves a dip that catches light. This also lifts tiny highlights out of dark areas, like a gleam in an eye.
Always scrape away from your other hand, keep fingers behind the edge, and replace blades when they start to drag. A dull blade tears fibers instead of shaving them, which leaves a fuzzy patch that burns darker when you go back over it. After scraping, a quick pass with 320 grit smooths the area before you reburn.
23. Work mistakes into the design
Some errors are easier to hide than remove. A stray line can become a branch, a blot can become a shadow, and a wobbly border can be thickened into a bolder frame. Step back before reaching for sandpaper and see if the mistake has a better use.
24. Fix uneven shading by blending
Patchy shading usually needs more burning, not less. Use a shader at low heat and make light, overlapping passes across the boundary between dark and light areas until it softens. For spots that are too dark, a light scrape thins them before you blend.
25. Clean up before you seal
Erase leftover graphite, brush off dust and fix small errors before any finish goes on. Sealer locks everything in and makes later corrections much harder. When the piece is clean, follow the steps in our guide on how to seal wood burning to protect it.
Frequently asked questions
Why are my wood burning lines blotchy?
Blotches usually come from a pen that pauses at the start or end of a stroke, a dirty tip, or uneven grain. Keep the pen moving as it lands and lifts, clean the tip every few minutes, and practice on basswood until your speed is steady.
Can you erase wood burning?
Not with an eraser, but you can remove light and medium burns by sanding or scraping. Very deep, dark burns go too far into the wood to remove fully, so it is often better to work them into the design.
What temperature should a beginner use?
On most variable burners, start around a third of the dial and adjust from there. Single temperature pens run hot, so move faster with them. Always test on scrap of the same wood before touching your project.
How long does it take to get good at wood burning?
Most people see a clear improvement after five to ten small projects. Steady lines come within a few sessions, while smooth shading takes longer. Short, regular practice helps more than occasional long sessions. Twenty minutes a few times a week on simple patterns builds control faster than one long weekend project.
Continue the Learn Pyrography series
This is part 6 of 13. Previous: How to Transfer a Pattern onto Wood for Wood Burning. Next: Wood Burning Tips Explained: What Each Nib Does and When to Use It. New to the series? Start with Wood Burning Safety, then the beginner guide.