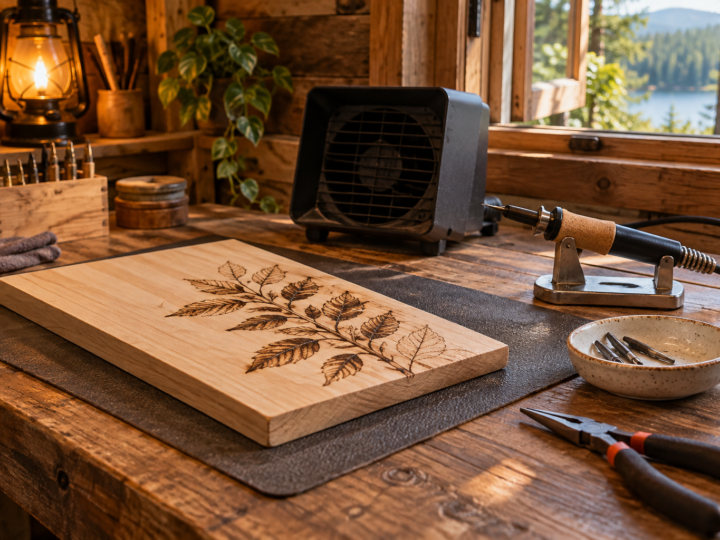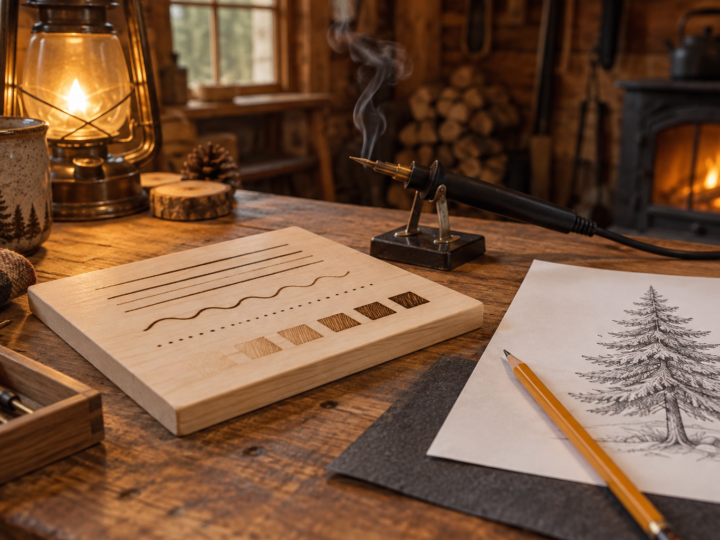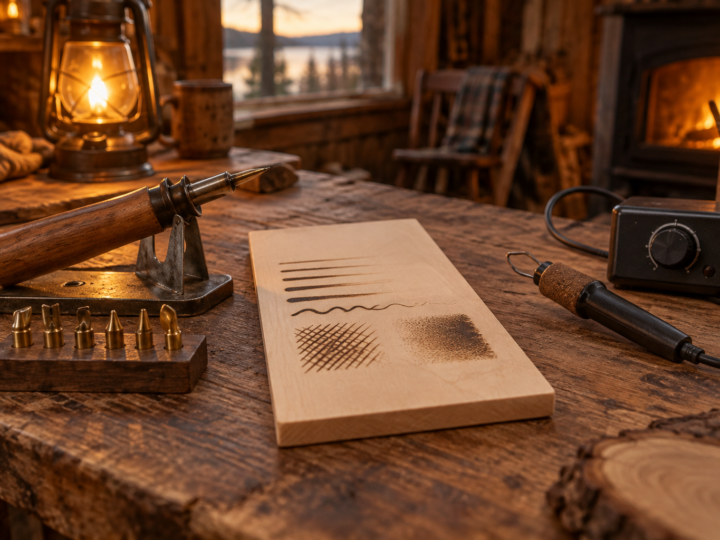
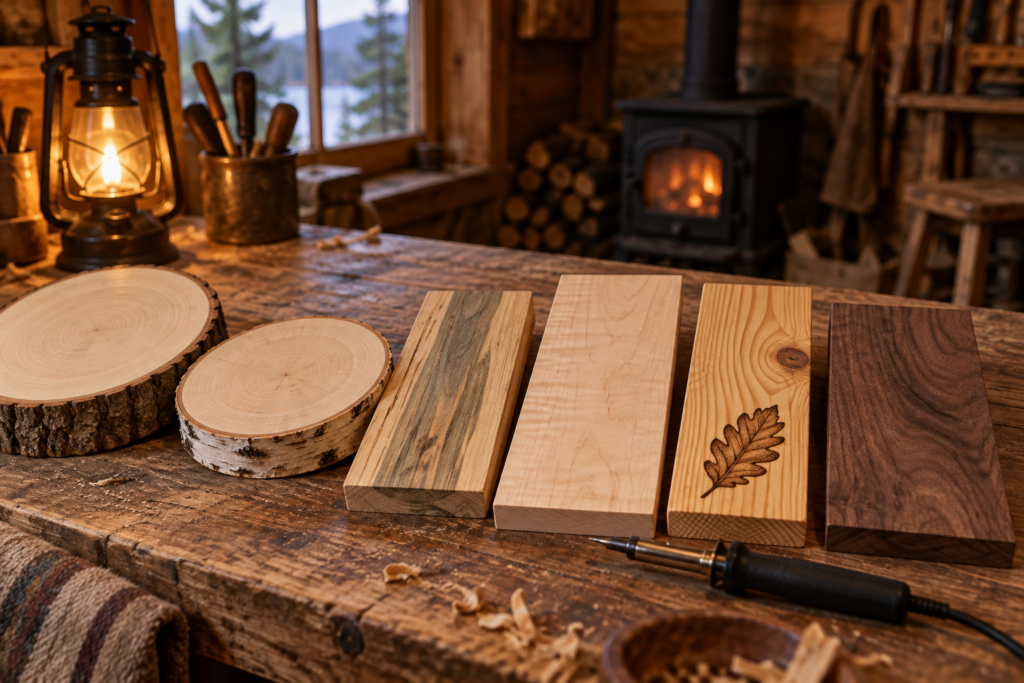
The best wood for wood burning is pale, smooth and evenly soft: basswood first, then birch, poplar and maple. Those four take a line without fighting you, show the full range of browns from pale tan to near black, and are easy to find in craft stores as rounds, plaques and boards. Pick one of them for your first ten projects and you remove half the reasons beginners struggle.
That said, other woods have their place once you know how they behave. Below we walk through what makes a wood good to burn, how the common choices compare, which surfaces to keep away from your pen, and how to prepare a blank so the first stroke goes down clean.
What makes the best wood for wood burning
Four things decide how a piece of wood behaves under a hot nib. Once you can judge them, you can look at almost any board in a shop and guess how it will burn.
Color
Burning works by contrast. A pale, creamy surface gives you room for many tones between the bare wood and your darkest burn, which is what makes shading look rich. On a dark wood like walnut, your lightest tones disappear into the background, so you are left with only a few usable shades.
Grain
Every board has growth rings, and the difference between the soft earlywood and the harder latewood matters a lot. In woods with tight, even grain, the pen moves at the same speed across the whole surface. In woods with strong contrast between rings, like pine or oak, the tip sinks into the soft bands and skates over the hard ones, so a line you meant to keep steady comes out dark, light, dark, light.
Hardness
Softer hardwoods such as basswood and poplar take color quickly at moderate heat, which is forgiving while you learn pen speed. Harder woods like maple need a little more heat or a slower hand, but they hold very fine detail and crisp edges. Neither is wrong; they suit different stages and styles.
Resin and sap
Resinous woods bubble and smoke when heated. The sap boils out, gums up your tip, and leaves shiny dark blotches that are hard to control. This is the main reason softwoods like pine are trickier than they look, even though they are cheap and everywhere.
Best woods for wood burning compared
Here is a quick side by side of the woods you are most likely to find. The ease rating assumes a beginner with a basic pen and a universal or shader tip.
| Wood | Grain | Color | Ease | Notes |
|---|---|---|---|---|
| Basswood | Very fine, even | Creamy white | Easiest | The classic pyrography wood. Soft, low resin, smooth shading. Sold as rounds with bark edges. |
| Birch | Fine, mostly even | Pale cream to light yellow | Easy | Solid birch boards and slices burn well. Slightly harder than basswood, good for detail. |
| Poplar | Fine, straight | Pale with green or grey streaks | Easy | Cheap at home centers. Streaks can show through light work, so plan around them. |
| Maple | Very tight | Pale cream | Moderate | Hard and dense. Needs more heat but gives crisp lines. Popular for spoons and cutting boards. |
| Pine | Strong ring contrast | Pale yellow | Hard | Resin and uneven rings cause blotches. Fine for rustic signs if you accept the look. |
| Walnut | Medium, open | Dark brown | Moderate | Low contrast. Best for bold outlines and lettering, not subtle shading. |
| Cherry | Fine, even | Pinkish tan, darkens with age | Moderate | Burns smoothly. The wood darkens over time and reduces contrast, so burn a little darker. |
| Cork | None (granular) | Tan | Easy | Coasters and boards burn fast at low heat. Lines spread, so keep designs simple. |
| Oak | Open, heavy rings | Light to mid brown | Hard | Open pores break up lines. Better for bold, rustic work than fine detail. |
Basswood for pyrography: why it is the default
Basswood (called lime or linden in Europe) is soft, almost free of resin, and has a fine grain with very little difference between the rings. Pull a shader across it and the tone builds evenly. Press a writing tip into it and the line stays the same width from start to finish. Few woods are that predictable.
It is also easy to buy. Craft stores carry basswood rounds with the bark left on, plaques with routed edges, and thin sheets for practice. A pack of small rounds is the cheapest way to build pen control, and we use them for nearly every exercise in our step-by-step guide to your first burn.
There are a few quirks. Because basswood is soft, a heavy hand or a tip left too long will dig a trench. The bark on rounds can flake and is not great to burn on, so leave it as a frame. And the creamy surface can yellow slightly under some finishes, which we cover in the guide on finishing and sealing wood burning art.
Good alternatives: birch, poplar, maple and cherry
Birch is the closest match to basswood in color and a touch harder, so it holds detail very well. Solid birch slices and boards are great. Be careful with “birch” panels sold in sheets, because most of those are birch plywood, which we come to below.
Poplar is the budget pick. Home centers stock it as planed boards in standard widths, and it burns smoothly at medium heat. The catch is mineral streaks in green, purple or grey. Choose boards with even color, or use the streaks as part of a rustic design.
Maple is hard and tight grained. It needs a higher dial setting or a slower stroke, but the reward is very sharp edges and clean dark tones. Hard maple is common for spoons, rolling pins and cutting boards, which makes it the natural choice for kitchen gifts.
Cherry burns smoothly and has a warm pinkish tone. Over months in light it darkens to a reddish brown, so your contrast slowly drops. Burn your darks a step darker than you think you need and the piece will still read well later.
Woods that work with some effort
Pine is the wood everyone has in the garage, and it is not off limits. It just behaves differently. The soft rings burn dark almost instantly while the hard rings resist, and pockets of resin bubble and smoke. If you burn pine, use a lower setting than usual, move a little faster across soft bands, wipe your tip often, and choose bold designs where some blotching looks intentional. Rustic signs and cabin decor suit it well.
Walnut and other dark woods are best for strong outlines, silhouettes and lettering. Subtle shading barely shows, but a deep, even burn on walnut has a quiet, elegant look. Oak and ash have open pores that break a fine line into dots. They suit chunky designs and wide shading, and they look good with a darker finish.
Cork and leather are not wood, but people burn them often. Cork coasters burn at very low heat and the lines spread, so stick to simple shapes. Leather needs its own approach, which we save for the later article on pyrography on gourds and leather.
Woods and surfaces to avoid
Some materials are a poor choice because they burn badly. Others are a poor choice because the smoke is harmful. Keep these off your bench entirely.
- Plywood. We do not recommend it. The glue layers between the veneers give off harmful fumes when heated, and the thin face veneer burns through unevenly, exposing glue and core that scorch in patches.
- MDF and particle board. These are mostly resin binders and wood fiber. Burning them releases fumes you do not want to breathe.
- Pressure-treated or chemically treated lumber. Treated wood contains preservatives that should never be heated or inhaled.
- Painted, stained, varnished or sealed wood. Finishes produce toxic smoke and burn unpredictably. Strip back to bare wood or choose another piece.
- Unknown reclaimed wood. Old pallets, fence boards and barn wood may be treated or contaminated. If you cannot confirm what it is, leave it.
- Toxic or irritating species. Some exotics and a few native woods, such as yew, oleander and many tropical hardwoods, have sensitizing dust and smoke. Look up any unfamiliar species before you burn it.
Even with safe woods, all burning makes smoke. Work with good airflow and a fume extractor or fan that pulls the smoke away from your face. The wood burning safety guide covers ventilation setups and the full list of woods to avoid burning in more detail.
How to prepare wood before you burn
A well prepared surface is the cheapest upgrade you can make. Even good basswood comes with fuzz, mill marks or a slightly rough face, and the pen will catch on every one of them.
- Check the surface for finish. If water beads on it, or it looks shiny, it has been sealed and is not suitable.
- Sand with the grain, starting at 220 grit if the surface is rough, then finish at 320 to 400 grit. Smoother wood gives smoother shading.
- Wipe off the dust with a dry cloth or tack cloth. Dust left on the surface burns into grey smudges.
- Optionally, raise the grain by wiping with a barely damp cloth, let it dry fully, and sand lightly once more at the final grit.
- Burn a test strip on the back or edge to find your heat setting for that piece.
Moisture matters too. Wood should be dry to the touch and stored indoors for a few days before burning. Damp wood steams, burns lighter than expected and can crack as it dries. Freshly cut slices from a log need weeks or months to dry, and they often split as they do, which is why kiln dried craft slices are easier to work with.
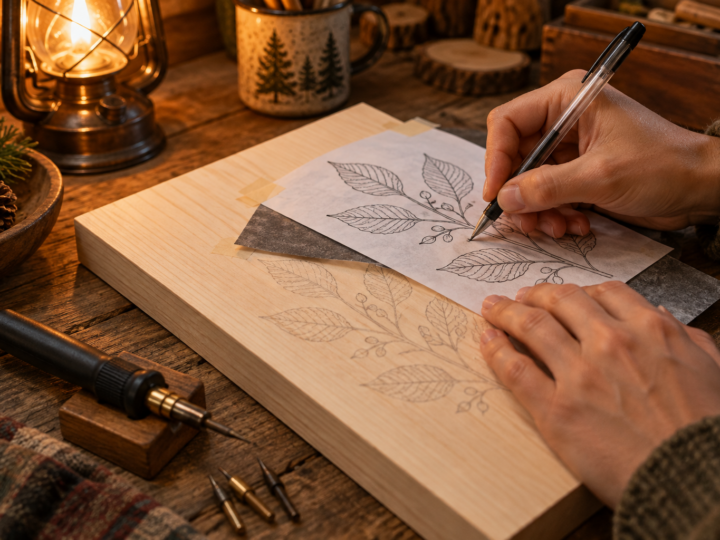
Once the blank is ready, the next step is getting your design onto it. The guide on how to transfer a pattern to wood covers graphite paper, pencil rubbing and heat transfer, and our free printable patterns give you plenty of good practice designs to start with.
Matching wood to the project
Choosing the best wood for wood burning art also depends on what you are making. A few pairings that work well:
- First practice and samplers: basswood rounds or thin basswood sheets.
- Detailed animals and portraits: basswood or birch, sanded to 400 grit.
- Kitchen gifts: maple or birch spoons and boards, kept away from the cutting area if you burn heavily.
- Rustic signs: pine or poplar, with bold lettering and simple borders.
- Coasters: cork for quick gifts, basswood or maple slices for heirloom pieces.
The tip you use changes how a wood behaves as well. A shader spreads heat over a wider area and is gentle on soft woods, while a fine writing tip on hard maple needs patience. If you are still choosing a pen, our comparison of solid point and wire nib tools explains how each type handles different woods, and the article on what each nib does goes through the tips themselves.
Frequently asked questions
Can you wood burn on plywood?
You physically can, but we do not recommend it. The glue between plywood layers gives off harmful fumes when heated, and the thin top veneer burns through unevenly. Solid basswood, birch or poplar boards cost little more and burn far better.
Is pine good for wood burning?
Pine is workable but not easy. Its resin bubbles and its soft and hard rings burn at different rates, so lines and shading come out uneven. Use a low setting, clean your tip often and pick bold, rustic designs.
What grit should I sand to before wood burning?
For most work, finish at 320 grit. For fine shading and portraits, go to 400. Very smooth wood can make dark tones slightly harder to build, so you may need a touch more heat on a polished surface.
Where can I buy basswood for pyrography?
Craft and hobby stores usually carry basswood rounds, plaques and sheets, and woodworking suppliers sell carving blocks and planed boards. Look for pieces that are pale, evenly colored and free of knots or cracks.
Continue the Learn Pyrography series
This is part 4 of 13. Previous: Choosing Your First Wood Burning Tool: Solid Point vs Wire Nib. Next: How to Transfer a Pattern onto Wood for Wood Burning. New to the series? Start with Wood Burning Safety, then the beginner guide.